Are you looking to enhance your WordPress website with essential contact forms? But you don’t know how to create free contact forms on WordPress?
Do you spend hours pondering this problem and looking for practical solutions? Thankfully, you found this article, which features the best solutions to your problem.
This article will discuss how to build contact forms without spending a dime and show you how to design those forms professionally. And that’s even for free!
So, let’s thoroughly read to know how you can effortlessly create these forms to elevate your online presence.
Create a free contact form on your WordPress website
Although WordPress has many built-in features to make your website fully functional, it cannot let you build a form with its core architecture.
But that doesn’t mean you can’t create a form in WordPress. Fortunately, you can utilize a good-quality plugin like Contact Form 7 to create a form.
Here’s a step-by-step guide on how to build a professional form for free with this plugin.
Install Contact Form 7
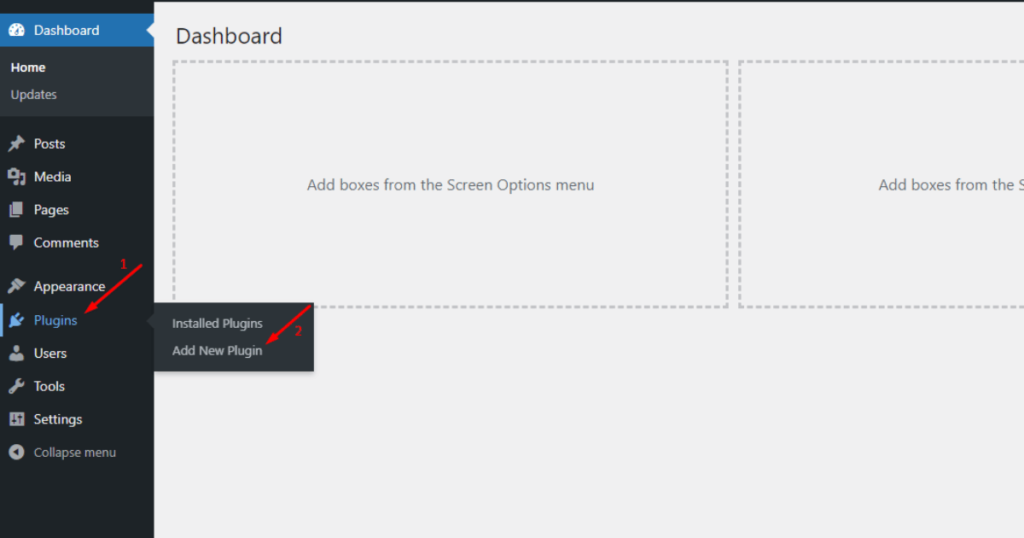
As you know, we’ll work with Contact Form 7. Let’s first install this plugin. To do so, navigate to the WordPress Admin Dashboard.
Then, go to Plugins and click the Add New Plugin option.
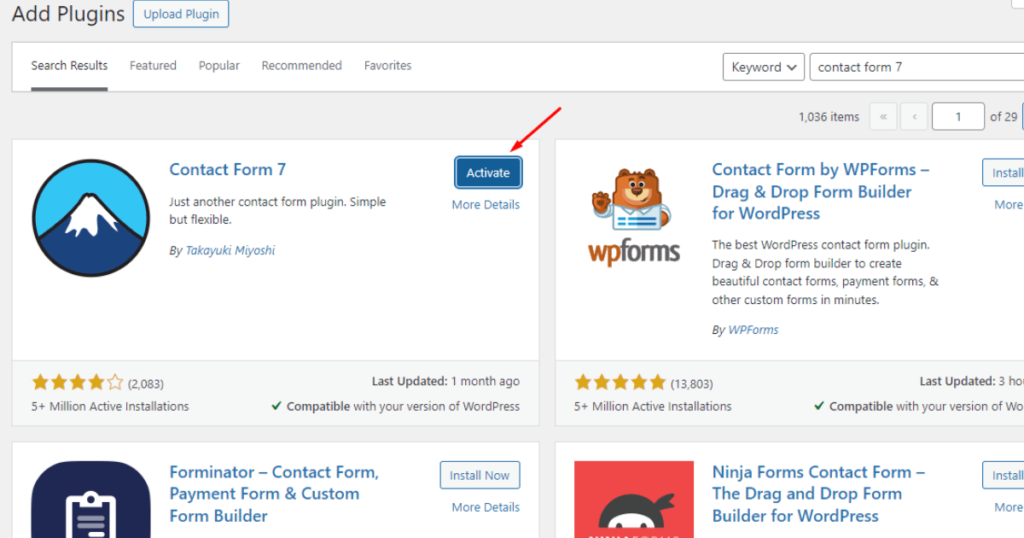
Afterward, type the keyword “Contact Form 7” in the plugin search field.

Now, spot Contact Form 7 and click the Install Now button.
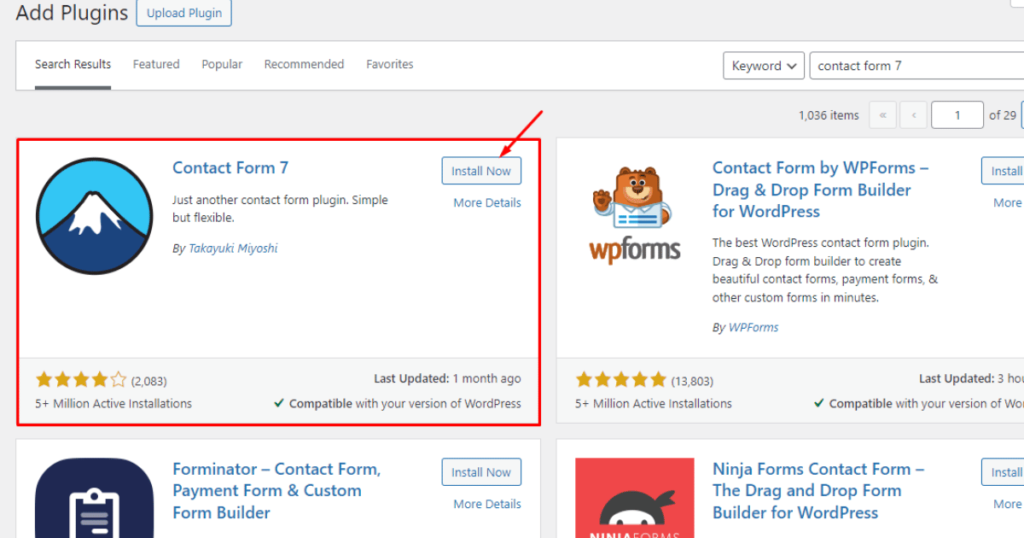
Finally, hit the Activate button.
See how easy it was to install the Contact Form 7 plugin!
Let’s now create a simple contact form with this free contact form plugin for WordPress.
Create a simple Contact Us form for free on your website
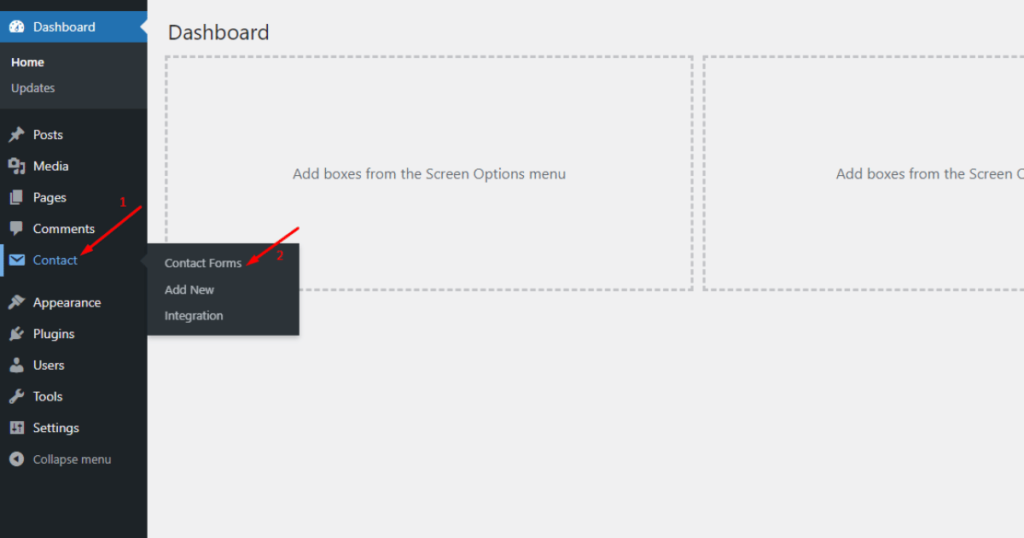
After installing Contact Form 7, go to the WordPress Admin Dashboard. Then head to Contact > Contact Forms.
Here, you can see that one form, “Contact form 1,” has already been created for you.
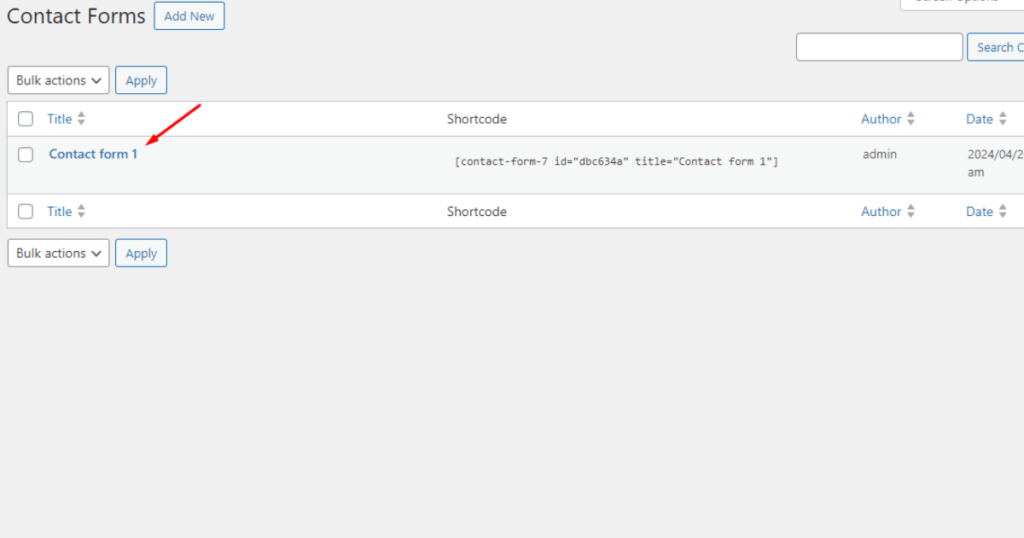
You can either edit this form or create a new one. Let’s first edit it and then try to create a new one.
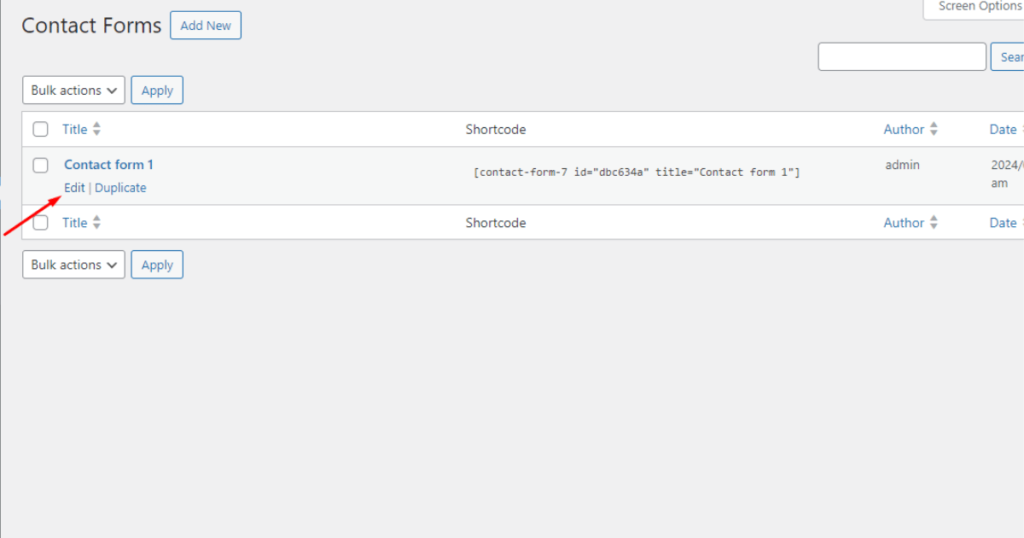
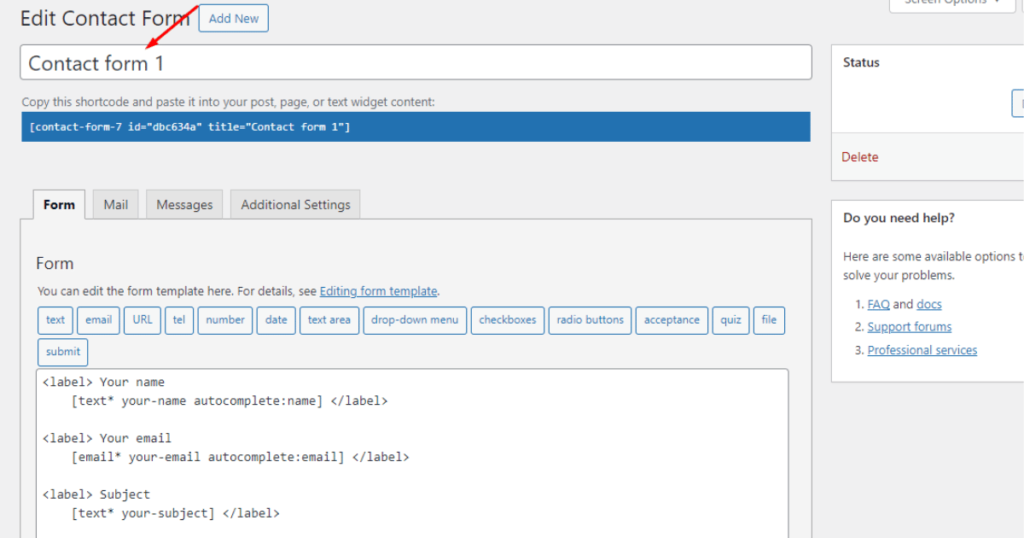
So, hover your mouse pointer over the form, and you’ll see the Edit option. Click on Edit.
You’ll then see a contact form editor. At the top is a field where you can name your form.
You can keep the name Contact form 1 or change it as you wish.
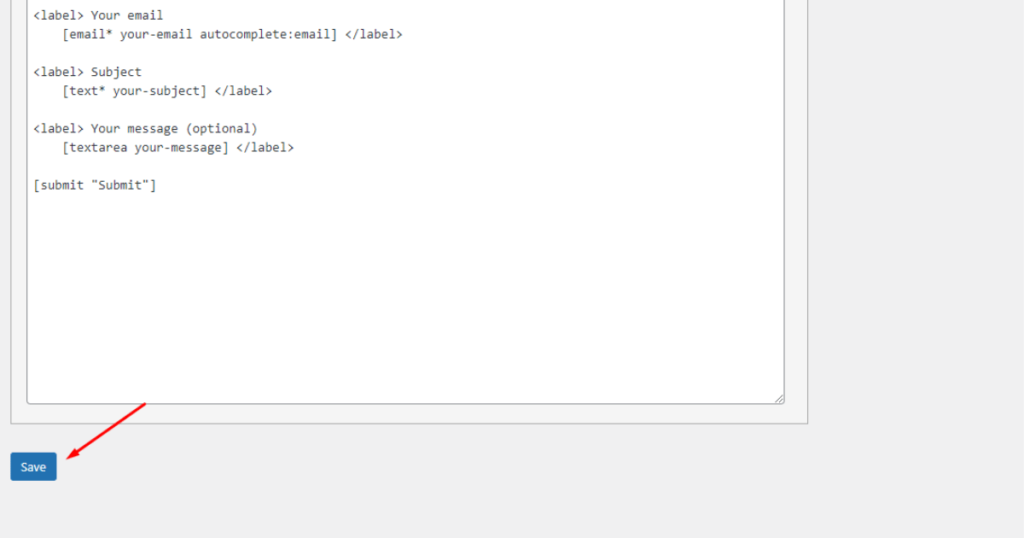
Once you’ve worked on the form name, scroll down and click the Save button.
Okay, you’ve completed half the job. You now need to display this form on your desired page or post. We’ll show you how to display a form on a particular page or post later.
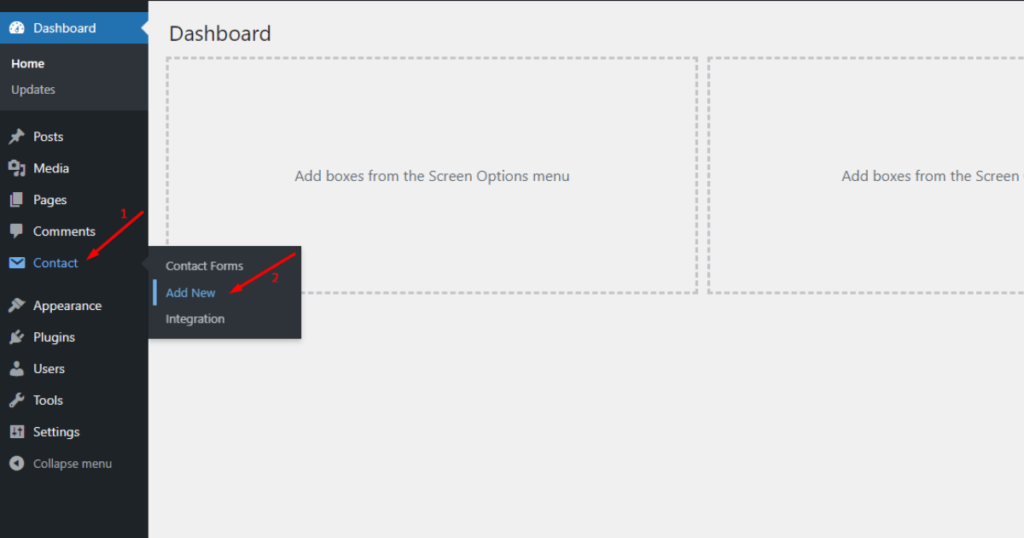
For now, let’s learn how to create a form. It’s simple. Go to the WordPress Admin Dashboard screen. Then, navigate to Contact > Add New.
Afterward, name your contact form.
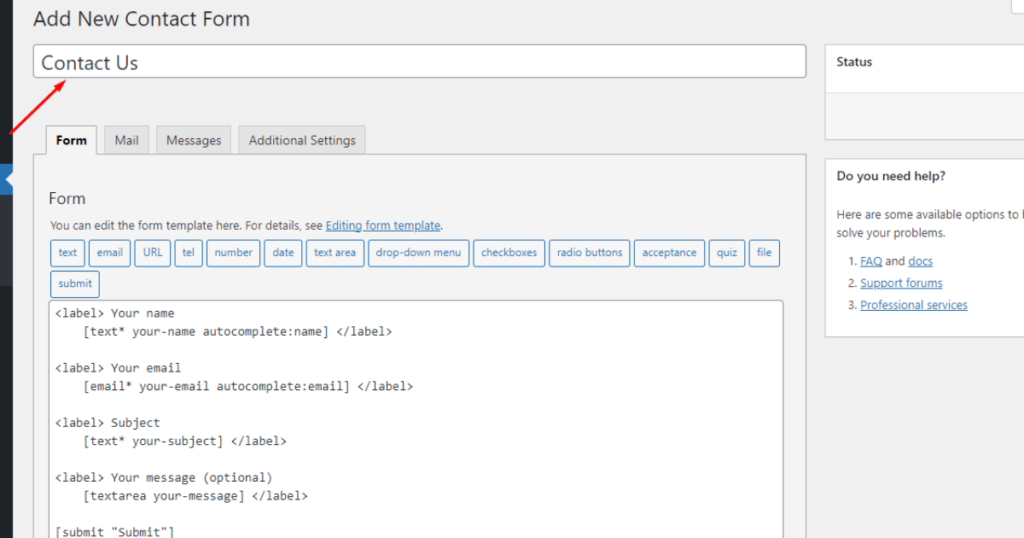
Scroll down to click the Save button.
That’s it. It’s time to display this form on a page or post.
Embed a form into a page
We’ll create a page on WordPress to display the form, but you can also show your form as a post – you can either create a new post or choose an existing one to exhibit your form.
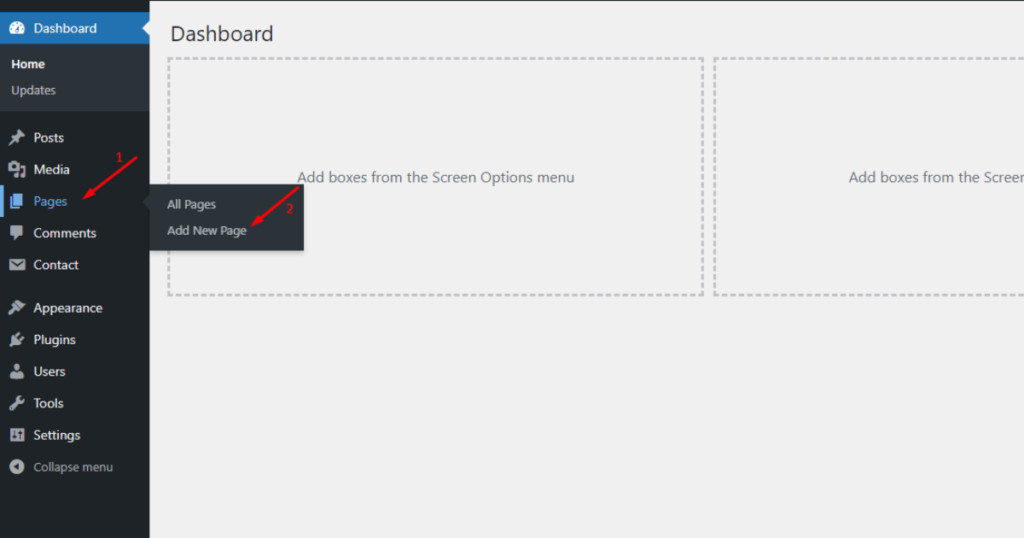
Hence, go to the WordPress Admin Dashboard > Pages > Add New Page.
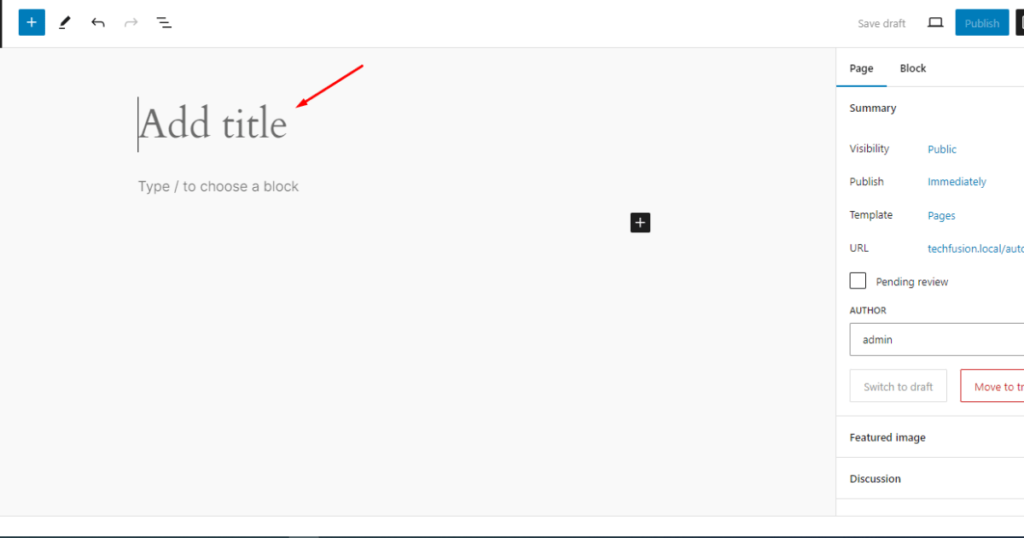
You’ll now see a page editor. Give your page a name by typing the name in the Add title block.
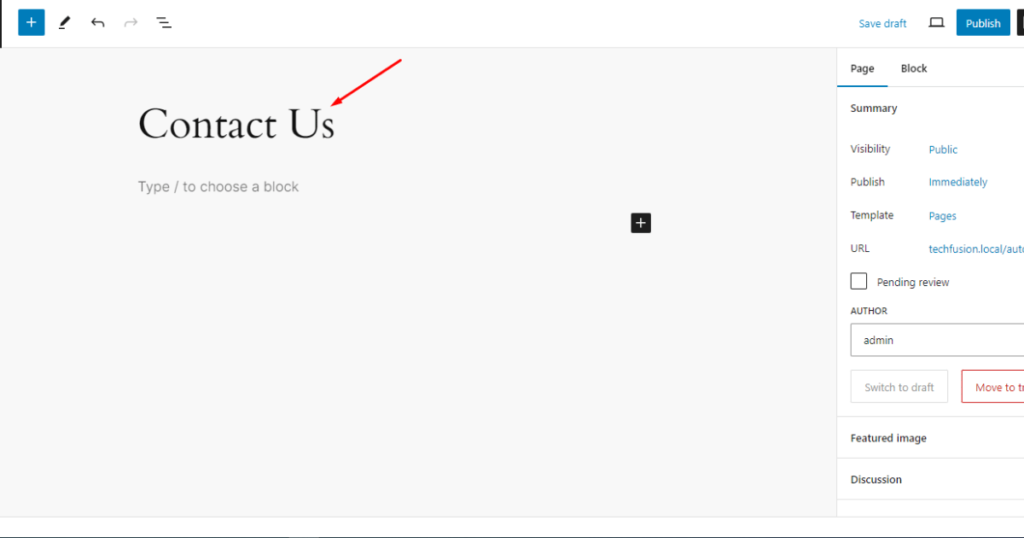
We’ll name our page Contact Us.
Next, type ‘/form’ in the second block.
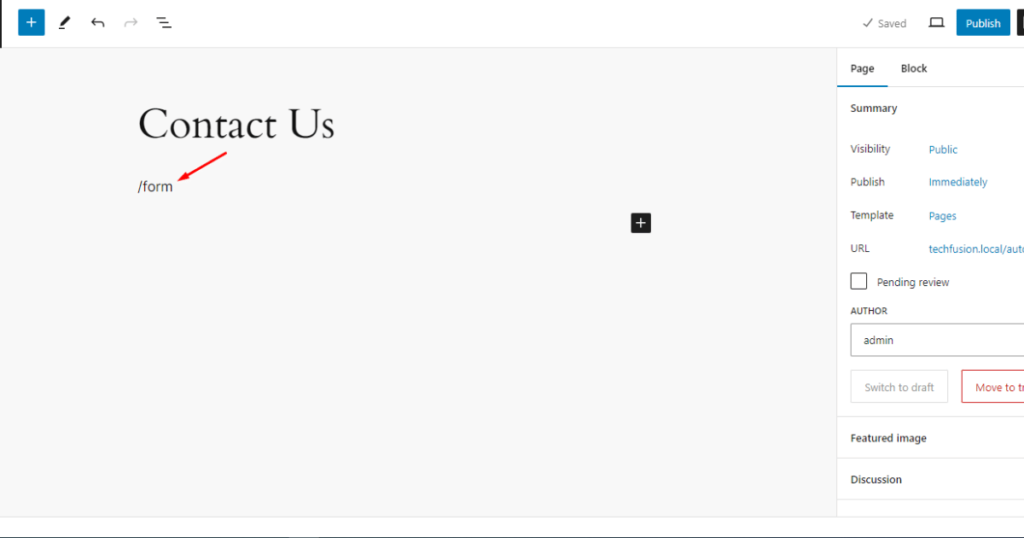
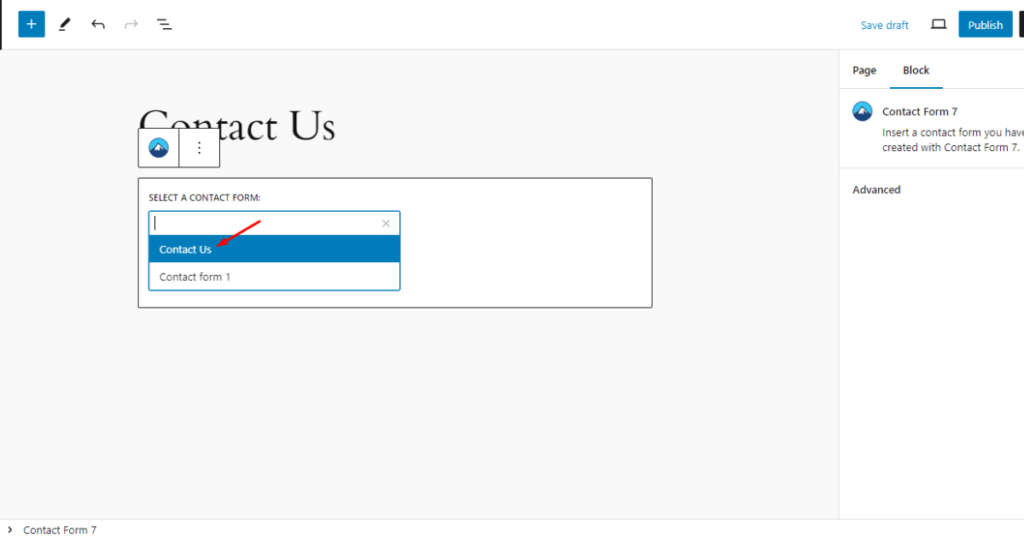
While typing ‘/form,’ you’ll see a block widget with a few tools. Click Contact Form 7 to insert a form.

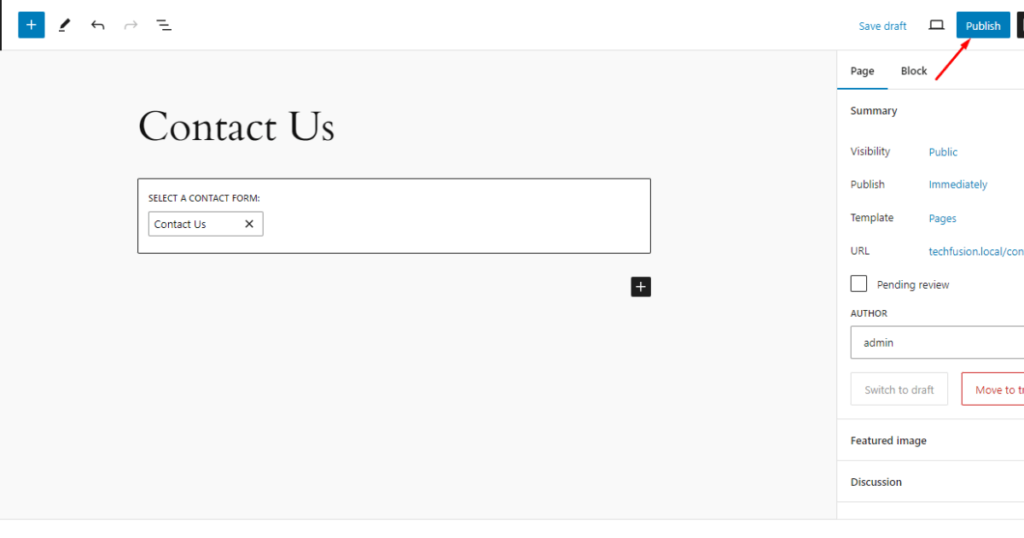
After that, select your preferred form.
Finally, hit the Publish button.
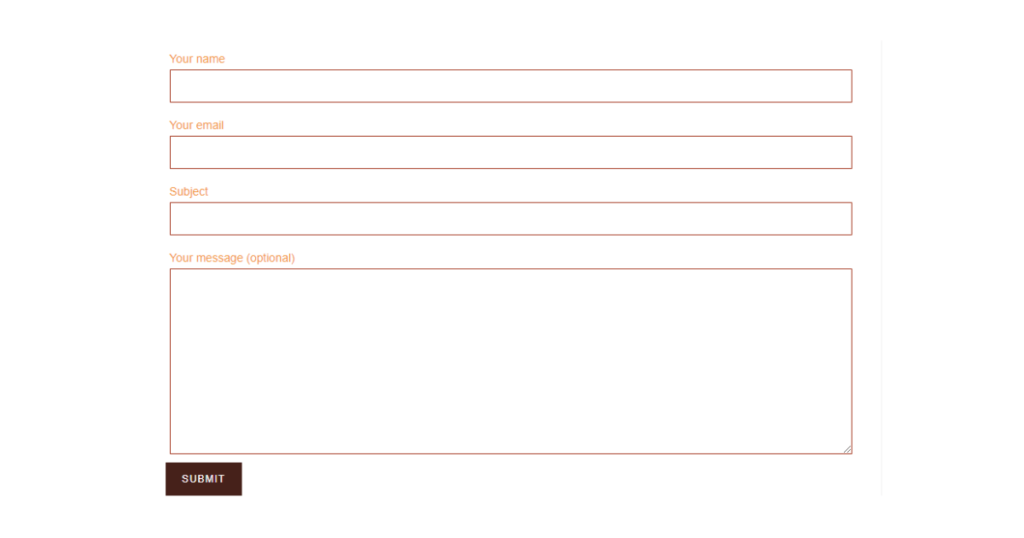
Now, visit the page to see your form’s outlook. Remember that the form’s appearance can differ based on your website’s theme.
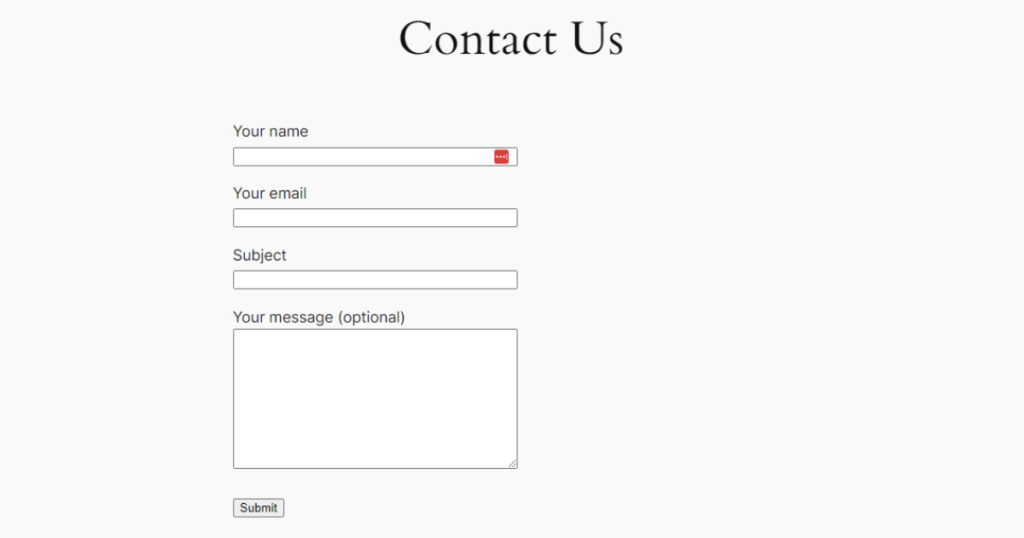
Our contact form looks pretty simple. We’ll improve its appearance by designing it.
You may keep reading the following section if you want to design a form like a pro!
Professionally design contact forms and create different form types for free
Here are the steps to designing a beautiful WordPress form. Please ensure you read and follow all the steps thoroughly.
Install Ultra Addons for Contact Form 7
Go to the WordPress Admin Dashboard. Then, head to Plugins > Add New Plugin.
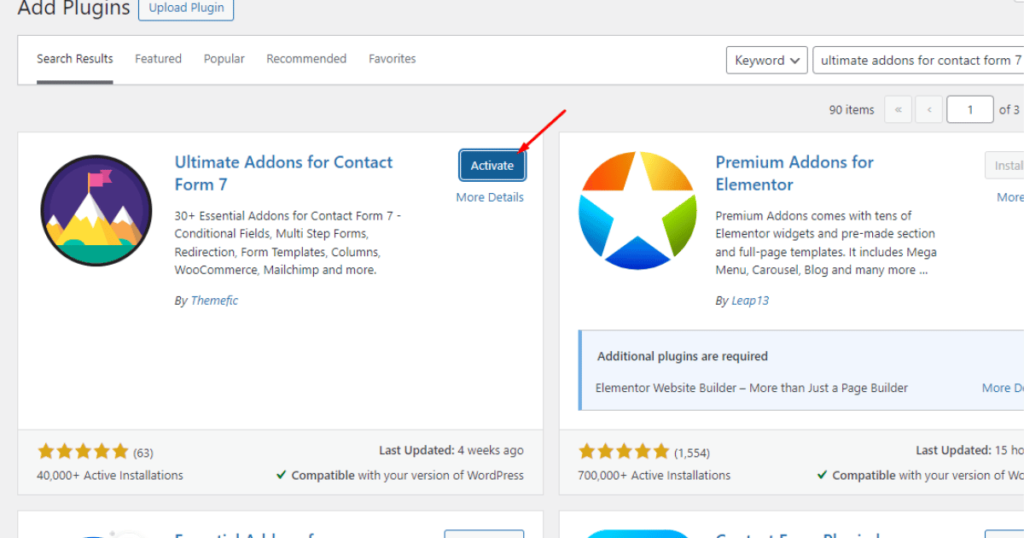
After that, search with the “Ultra Addons for Contact Form 7” keyword in the plugin search field.

Find Ultra Addons for Contact Form 7 and click the Install Now button.

Then, hit the Activate button.
There you have it. You’ve just installed Ultra Addons for Contact Form 7.
Stylize an existing contact form with UAFC7
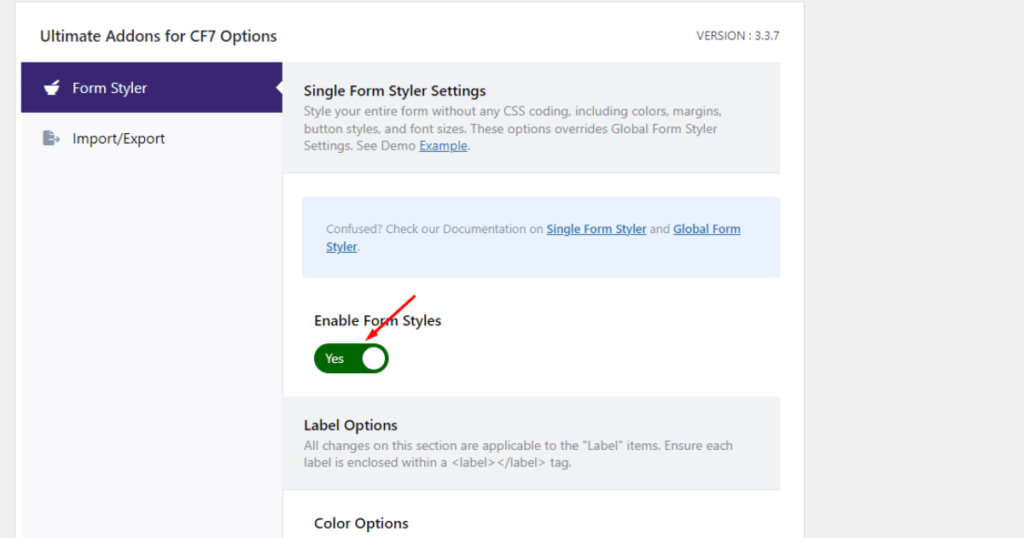
To design an existing form with UAFC7 (Ultra Addons for Contact Form 7), you need to enable the Form Styler (Single) add-on of this plugin first.
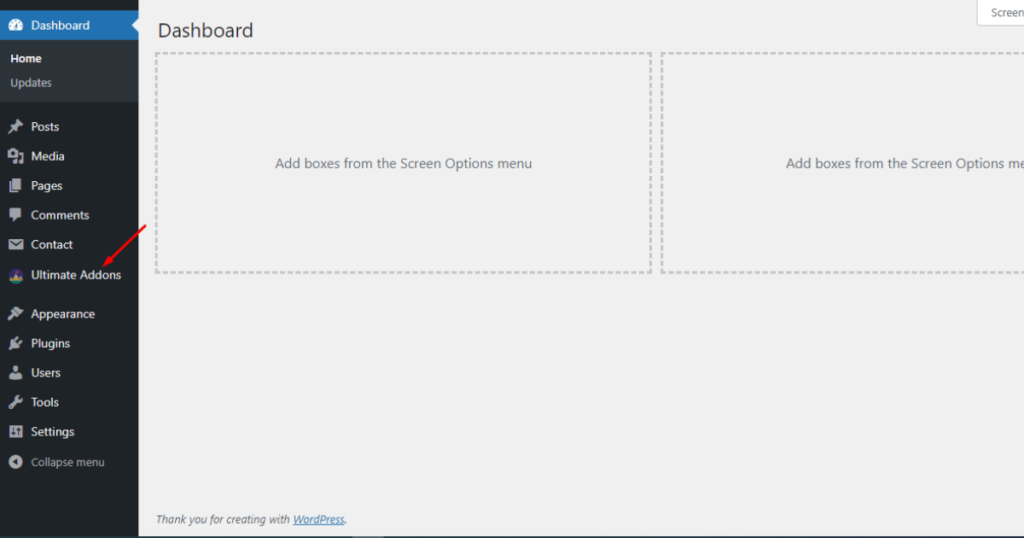
To do this, go to the WordPress Admin Dashboard screen and click Ultra Addons.
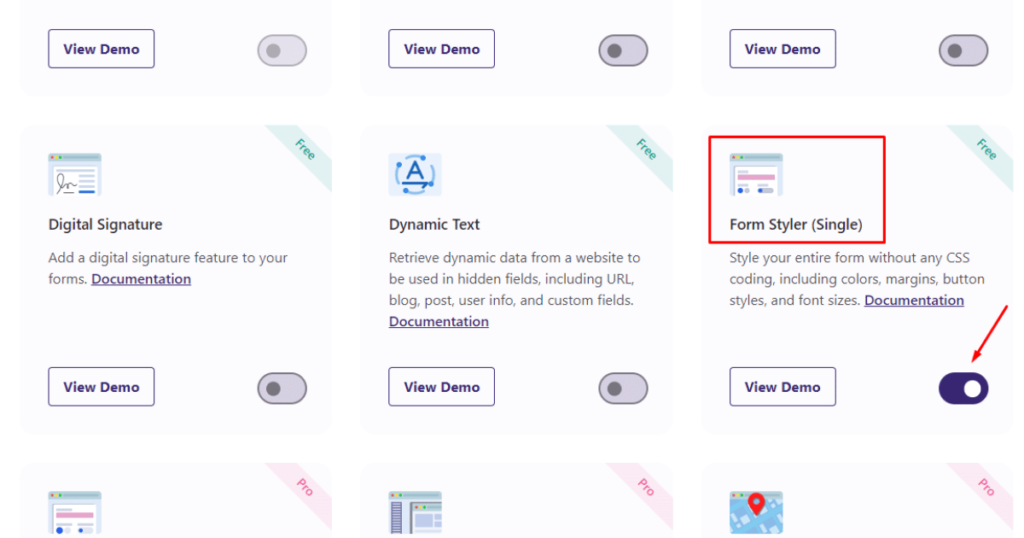
You’ll now see all of UAFC7‘s add-ons. Scroll down to find the Form Styler (Single) addon.
Once you spot it, toggle on this Form Styler (Single) addon.
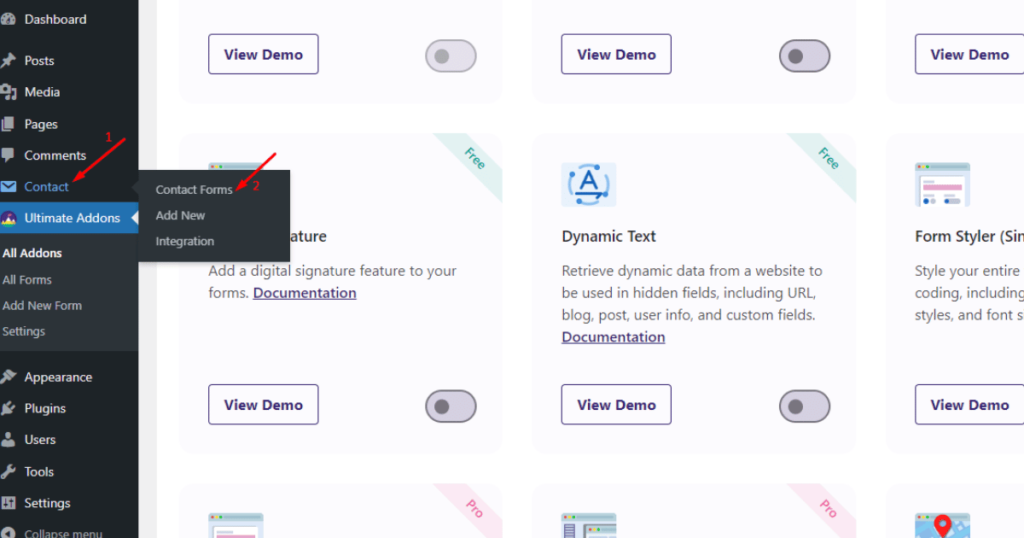
After that, go to Contact > Contact Forms.
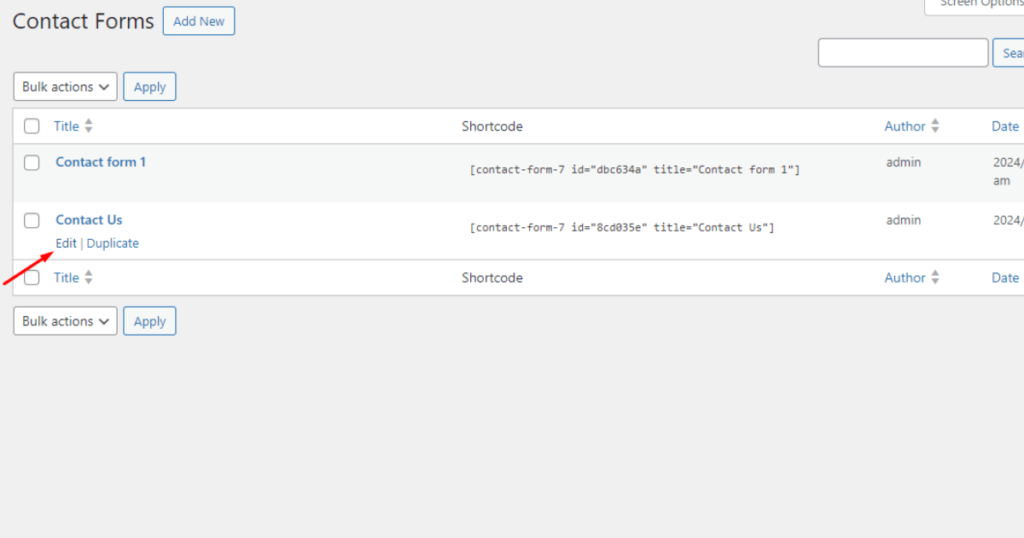
Take your mouse pointer over a form you want to stylize. You’ll see the Edit option when you hover the mouse pointer over a form.
Click the Edit option when you see it.
Now, scroll down and activate the Enable Form Styles feature of UAFC7.
Again, scroll down, and you’ll notice features you can use to colorize labels in your form. You can also add padding to particular labels and a button.
Besides, you can change the fonts of labels and style the button according to your preferences.
You may watch the video below to see how we stylize our form.
We encourage you to explore all the features of UAFC7 on your own. Let’s now check our form outlook.
Create a multi-step form
Okay! Now, you know how to create a form on WordPress for free and how to design a form professionally with Ultra Addons.
It’s time to elevate your skill a little higher. You’ll now see how to create a multi-step form on WordPress for free. Let’s begin your journey.
To create a multi-step form, you can choose an existing form or create a new one. We’ll go with an existing one.
So, go to the WordPress Admin Dashboard > Ultra Addons.
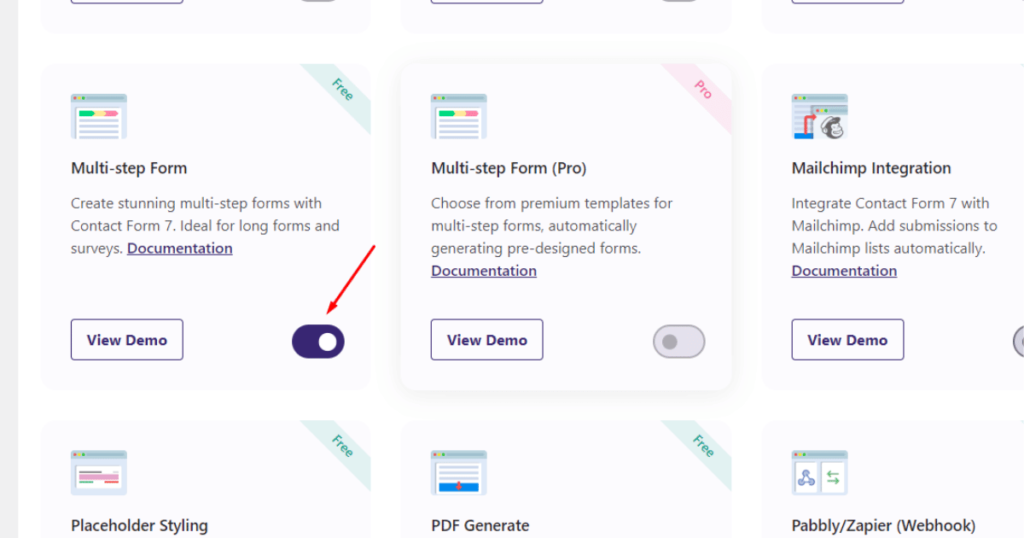
Scroll down to spot the Multi-step Form addon and enable it.
After that, revisit the WordPress Admin Dashboard screen and go to Contact > Contact Forms.

Right now, hover the mouse pointer over a form you want to edit and click the Edit option.
Scroll down and click the Multi-step Form tab.

Afterward, activate the Enable Multistep feature.

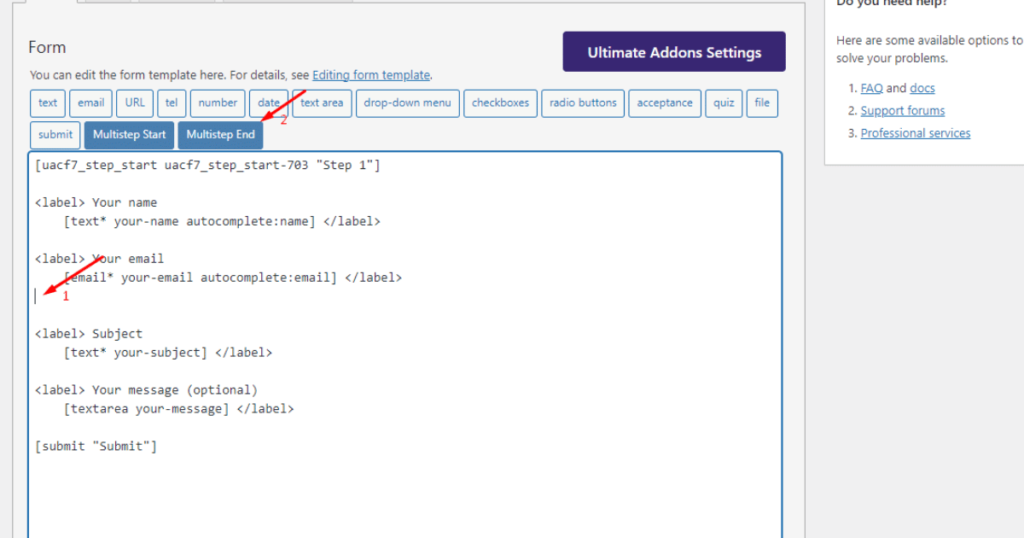
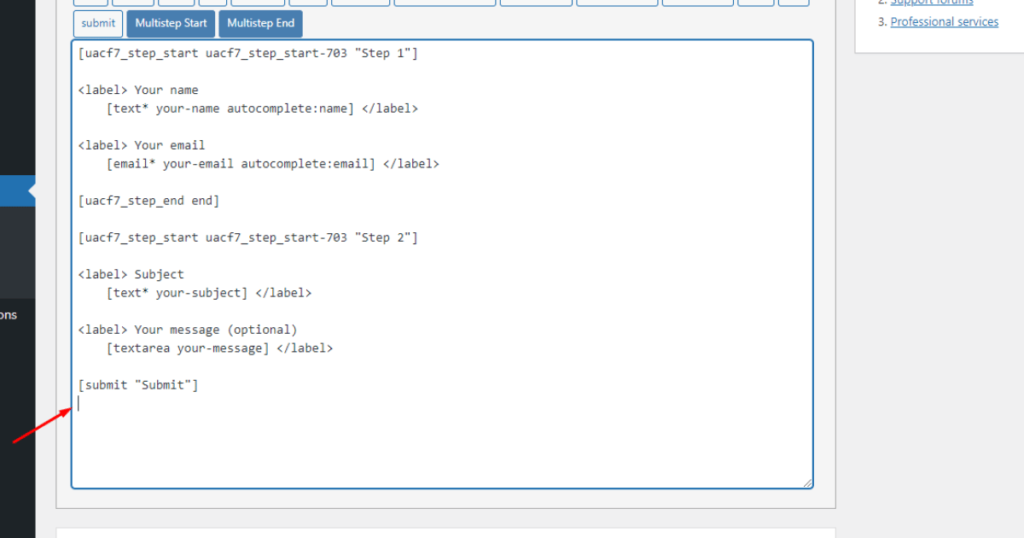
Scroll up and click somewhere (where you want to insert a multi-step start tag) inside the form template editor.

After that, click the Multistep Start tab.

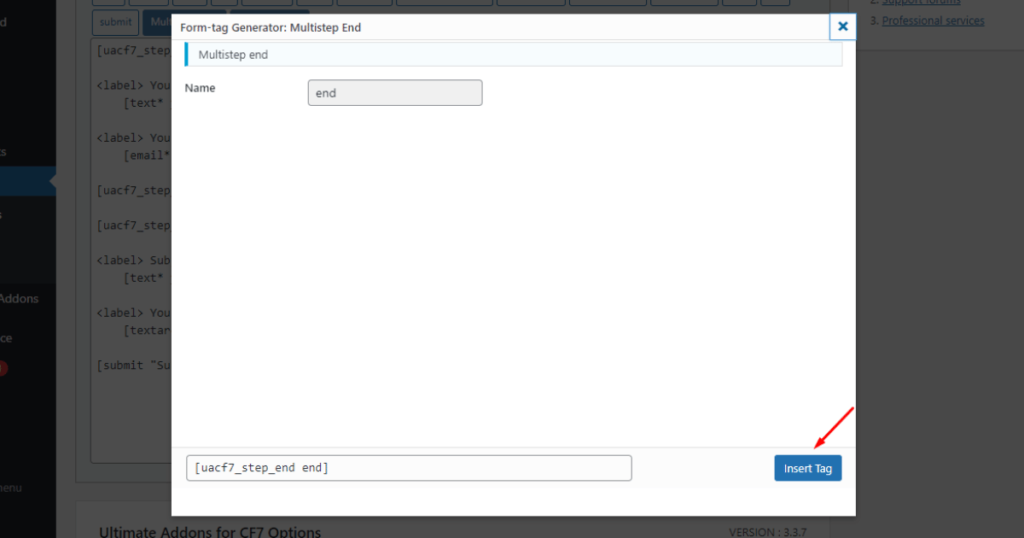
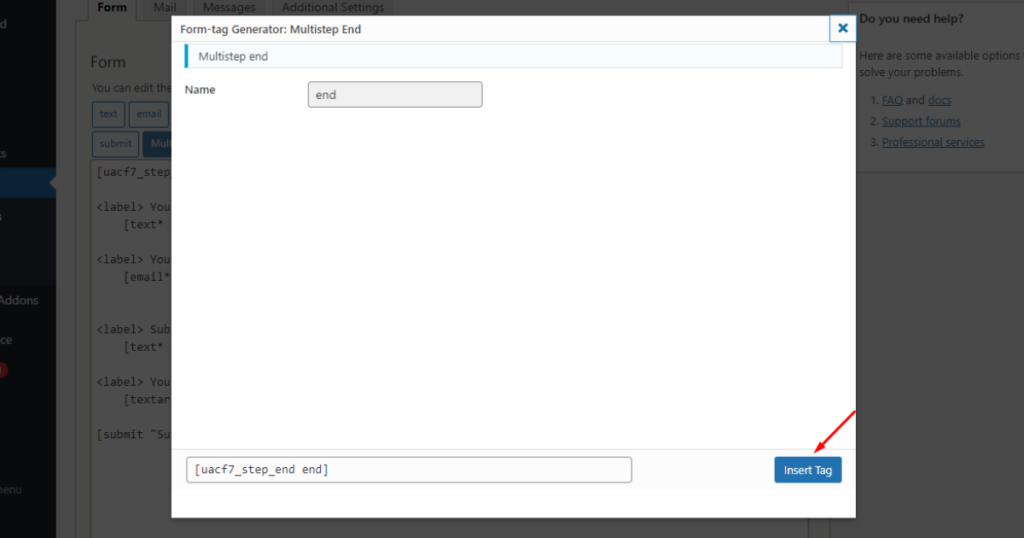
You’ll now see a Form-tag Generator popup. In the Label field, type your chosen name to name the Multistep Start tag.

Then, click the Insert Tag button.
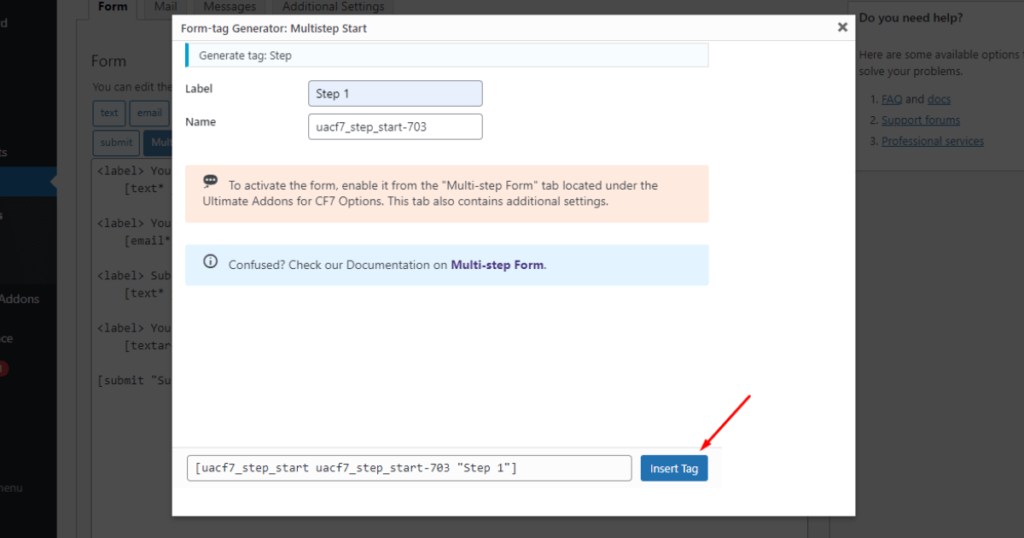
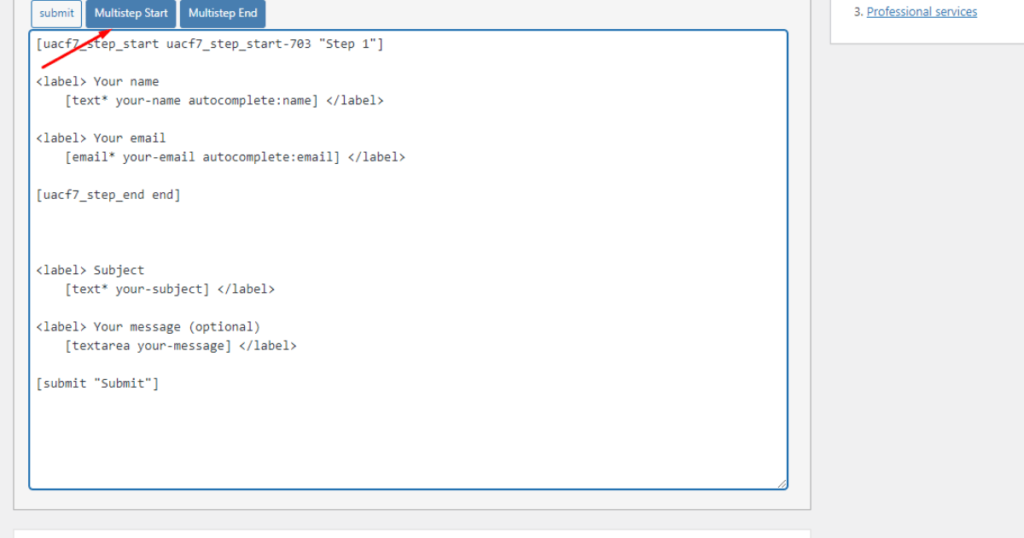
You can now see the Multistep Start tag inside the form template editor.

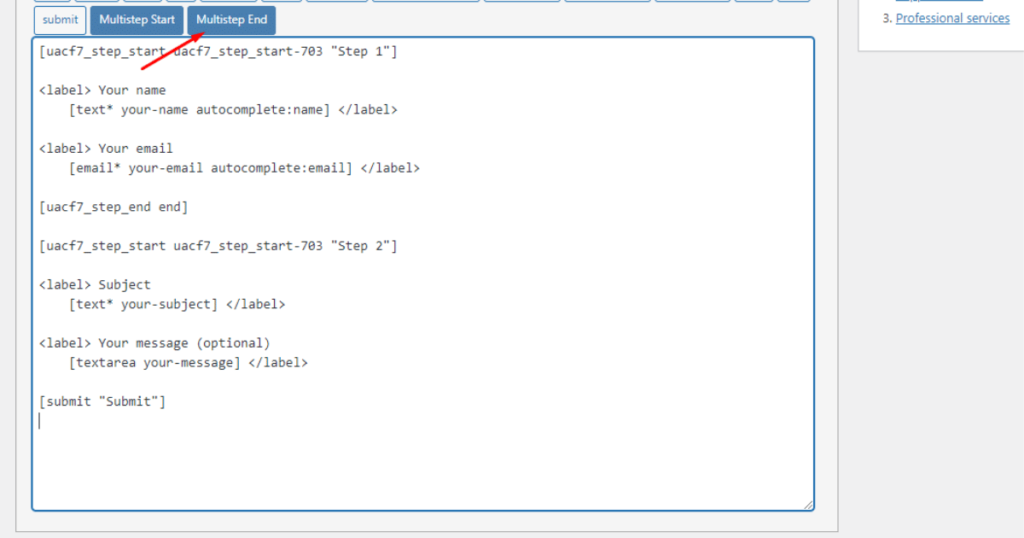
At this point, insert a Multistep End tag inside the form template editor where you want one step to be completed.
In our case, we’ll place the Multistep End tag right after the email label tag. We’ll place the mouse cursor after the email label tag and click the Multistep End tab to do this.
You’ll again notice the Form-tag Generator popup. Click the Insert Tag button.
You can now see the Multistep End tag inside the form template editor.
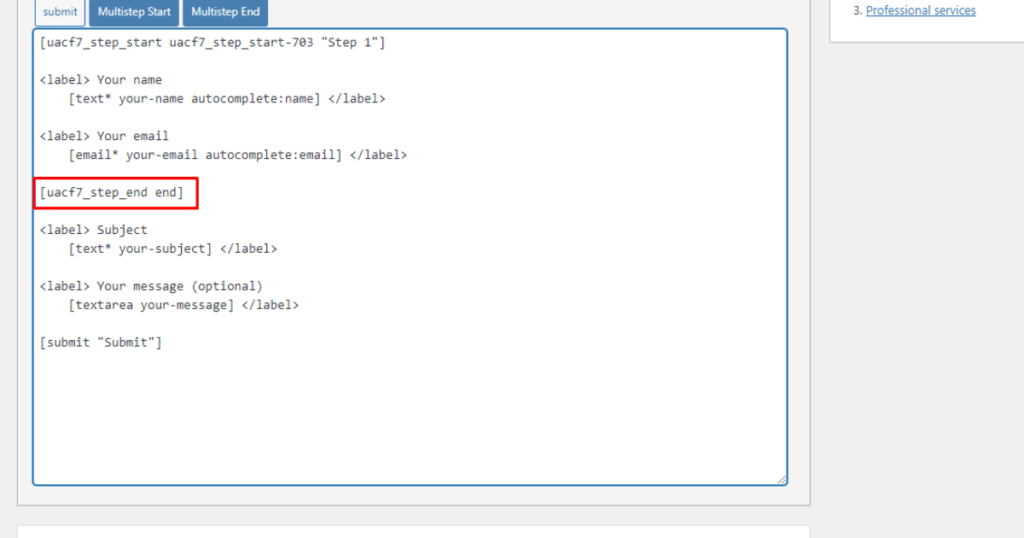
As you can see, we’ve covered Your name and Your email labels under Step 1 with Multistep Start and Multistep End tags.
We’ll reapply all these steps for inserting Multistep Start and Multistep End tags to bring the Subject, Your message labels, and the Submit button inside Step 2.
That means we’ll click the Multistep Start tab.
Then, type Step 2 inside the Label field of the Form-tag Generator popup.

Hit the Insert Tag button.

Place the mouse cursor after the Submit tag inside the form template editor.
Then, click the Multistep End tab.
Afterward, hit the Insert Tag button.
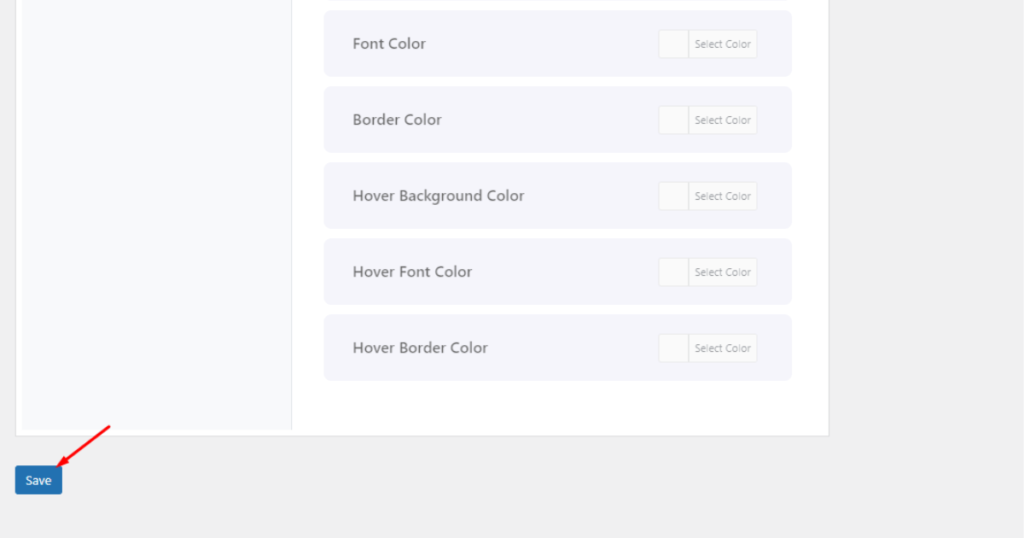
Finally, scroll down and click the Save button.
Hooray! You’ve created a multistep form. Let’s now visit the form page/post (where you’ve embedded the form).
You may watch the video below to see the result.
Rounding up
Thank you for reading this article about creating free contact forms on WordPress. We believe by now, you have a thorough understanding of how to build free forms on this popular CMS.
With the information in this article, you can easily create and design free forms on WordPress. You can even create advanced forms, like the multi-step form, for free.
Hence, save this article on your bookmarks so that you can go through as many times as you need to revise how to create free forms. Make sure you correctly follow all the steps and utilize the plugins shown in this content.
We wish you the best of luck on your form creation journey.