Receiving too many spam comments through a contact form on your website? Are you thinking about how to shield your site from spam and malicious bots? The answer lies in integrating Contact Form 7 with captcha.
Managing a website and keeping it free from spam is daunting. You know bots can clutter your website with harmful data and you don’t want it.
But If you don’t have a strong defense mechanism set on your site, your website and even your business will suffer.
Therefore, integrate Google’s reCAPTCHA technology into your website. That being stated, today’s article shows you how you can easily add a captcha to a contact form and secure your website.
Why do I need to add a captcha to a contact form?
Here are a few reasons to help you understand why you need to add a captcha to a contact form.
- A captcha in a contact form can help prevent automated bots from submitting spam. By requiring users to solve a captcha, you ensure that a real person interacts with your form.
- Without a captcha, your contact form is vulnerable to various forms of abuse, such as automated attacks.
- Alongside all these, having a captcha on a contact form can help you reduce the burden on your server. It’s because spam submissions can’t consume server resources.
- Consequently, you don’t encounter any website performance issues.
So, given all these factors, it’s evident that every form on your website needs to feature a captcha to avoid spam form submission.
Contact Form 7 with Captcha – How to add a captcha to the contact form 7 in WordPress
Well, here’s how you can add a captcha to your Contact Form 7.
Step 1 – Generate reCAPTCHA API keys
First, you need to generate reCAPTCHA API keys so Contact Form 7 can connect with reCAPTCHA. To generate API keys, you need to sign in with your Google account.
Then, go to reCAPTCHA Admin Console. Afterward, you need to register your website. So, type in your website domain in the Label field in Google reCAPTCHA.
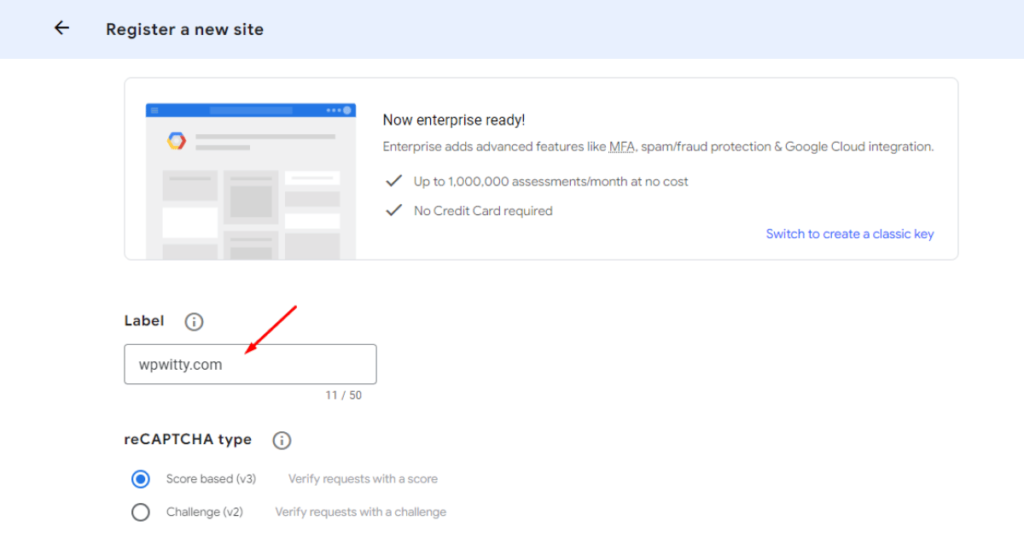
Now, choose reCAPTCHA type. We recommend choosing Score based (v3) type as it is standard.

Then, again add your website domain in the Domains section. To add, type your website URL in the Domains field.
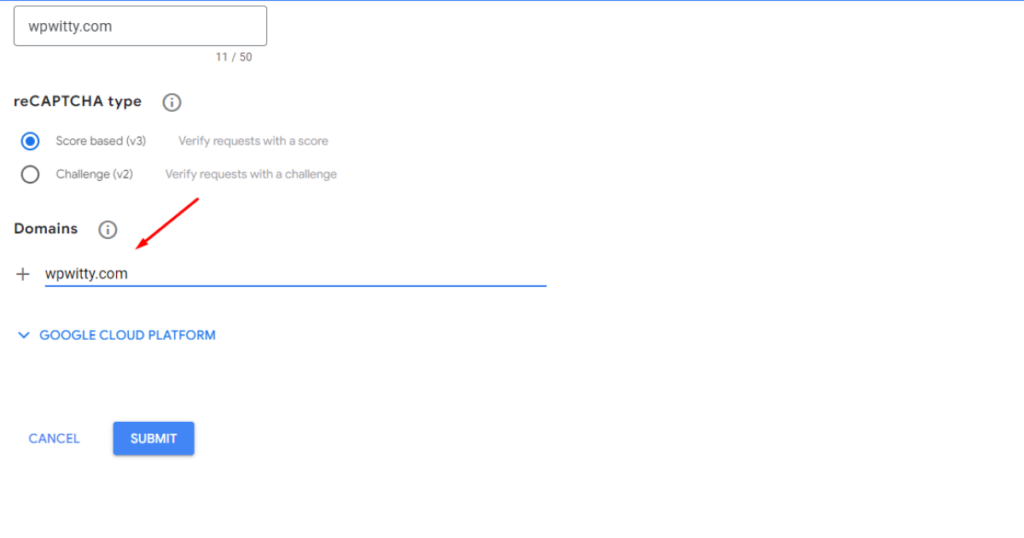
After that, click the ‘+’ icon to add a domain.
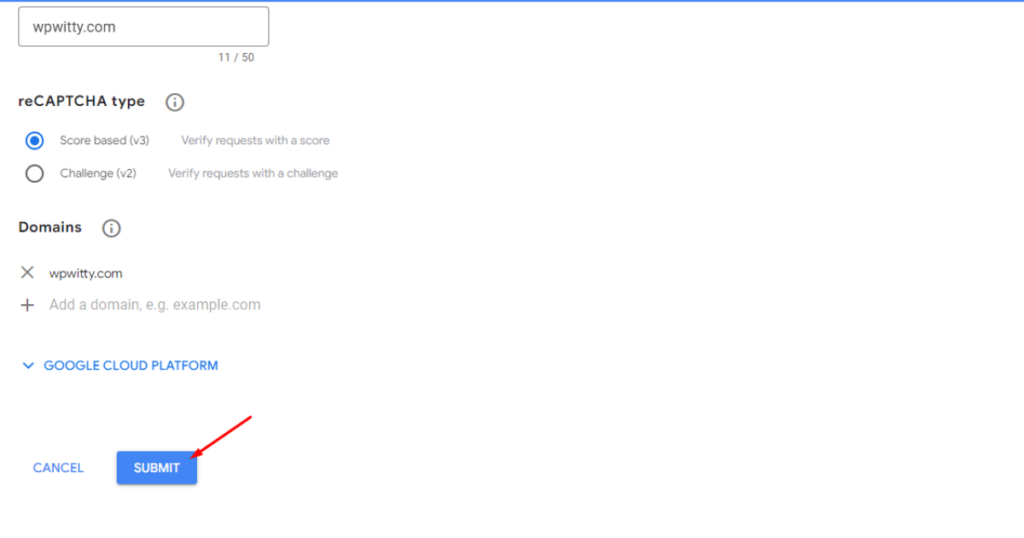
Finally, hit the SUBMIT button.
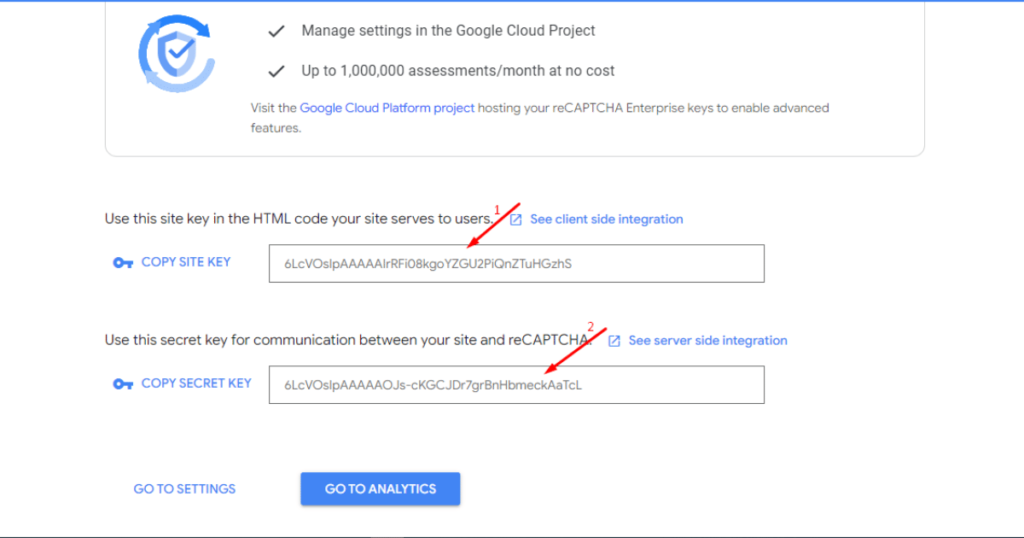
Then, you’ll see SITE and SECRET KEYS. Copy these keys and paste them into a Notepad or anywhere else to save these keys for later use.
Step 2 – Integrate reCAPTCHA in Contact Form 7
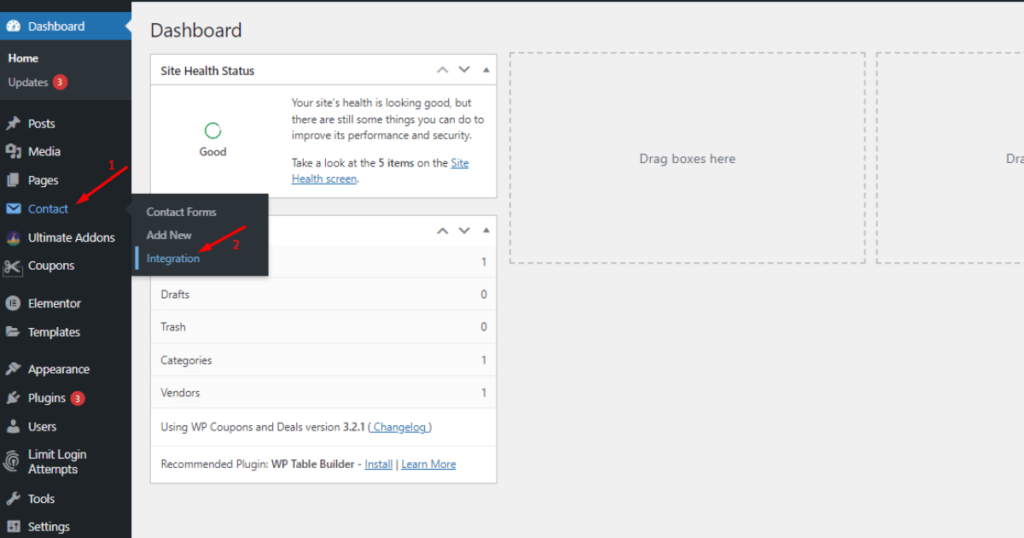
For a captcha integration, go to your WordPress Admin screen and hover over Contact > Integration.
Scroll down to find the reCAPTCHA section.
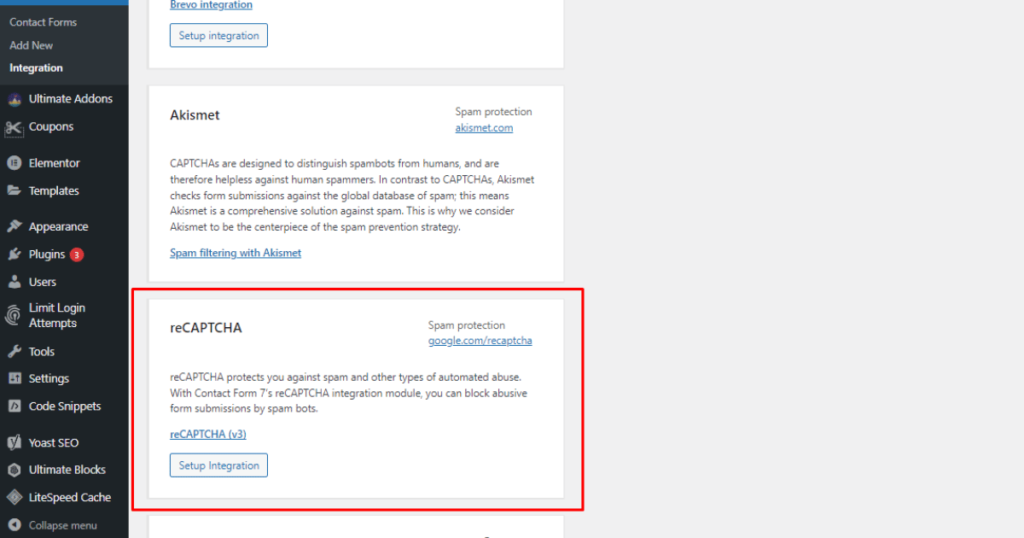
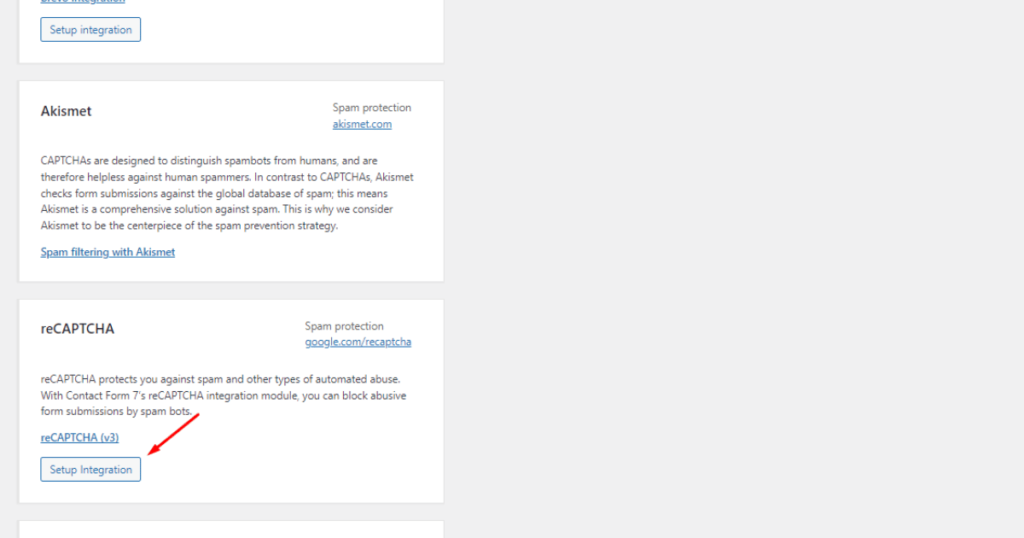
Now, click the Setup Integration button of reCAPTCHA.
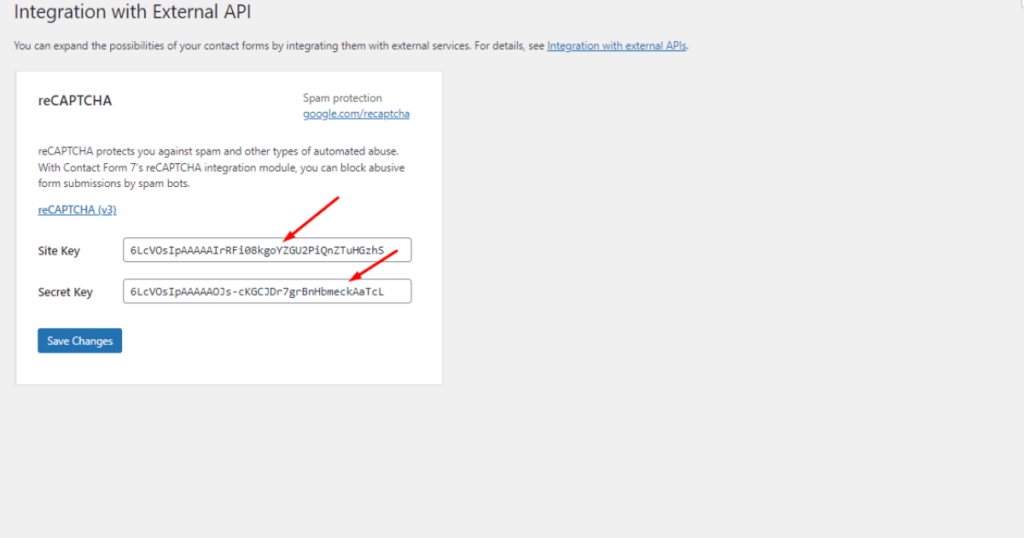
Then, you’ll notice the SITE and SECRET Key fields.
Next, you need to insert reCAPTCHA API keys (you copied them from the reCAPTCHA admin console and saved these keys in a notepad) into these two fields.
Lastly, click the Save Changes button.
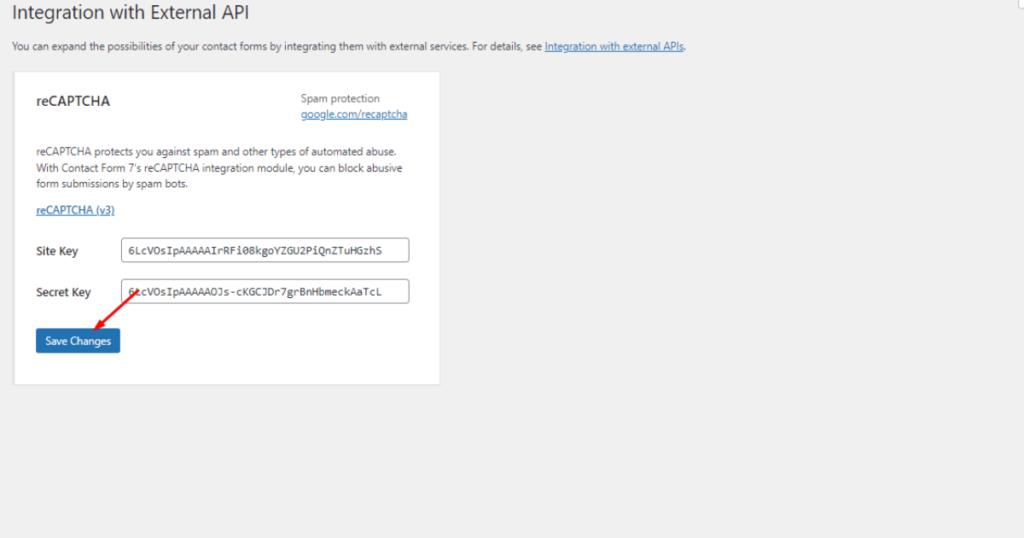
Congratulations! You’ve successfully integrated reCAPTCHA v3 with Contact Form 7.
Now, visit the page/post where you’ve inserted a contact form’s shortcode and see if reCAPTCHA v3 works correctly.
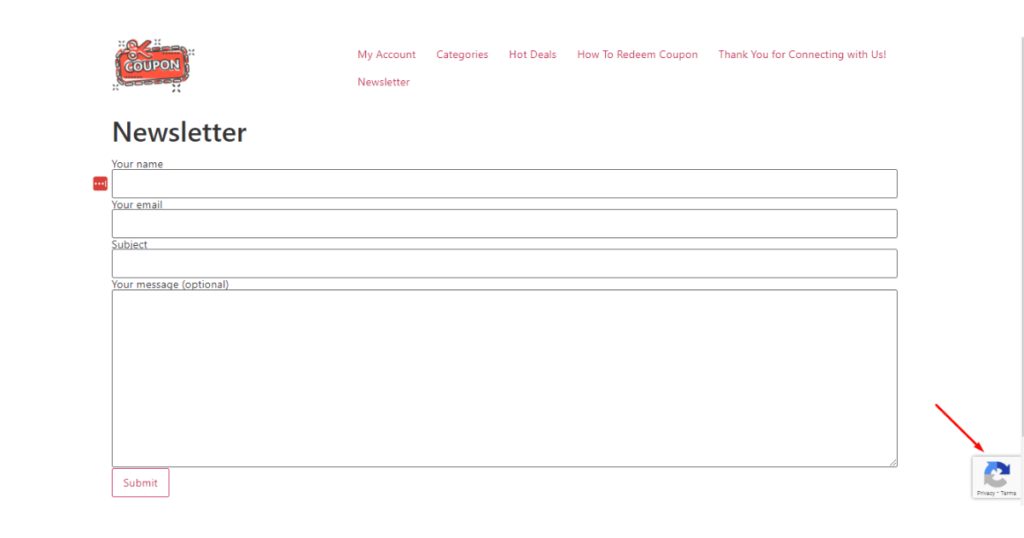
Stay calm if you don’t notice the reCAPTCHA v3 sign on your chosen page or post. There can be many reasons behind this unexpected incident.
We’ll talk about the solution instead of focusing on the reasons for this malfunction. You may keep reading the following section if you seek a solution to this problem.
Contact Form 7 reCAPTCHA v2 – Follow the steps if v3 doesn’t work!
For reCAPTCHA v2 integration with Contact Form 7, we’ll follow quite similar steps to those we followed for reCAPTCHA v3. Here are all the steps we’ll go after.
Step 1 – Install Contact Form 7 Captcha
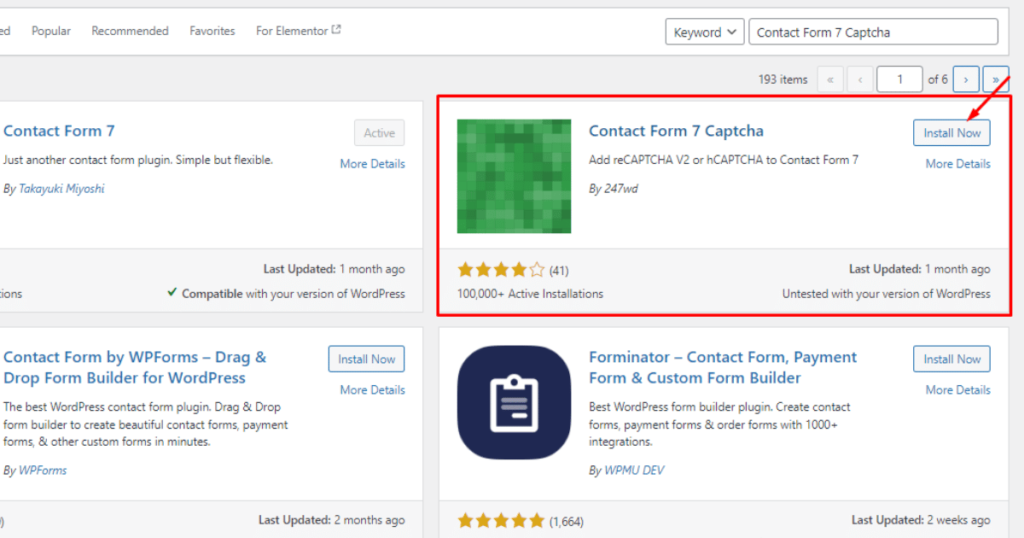
We’ll first install a plugin called Contact Form 7 Captcha. Hence, go to WordPress Admin Dashboard > Plugins > Add New Plugin to install it.

Search with the keyphrase “Contact Form 7 Captcha” in the search field.
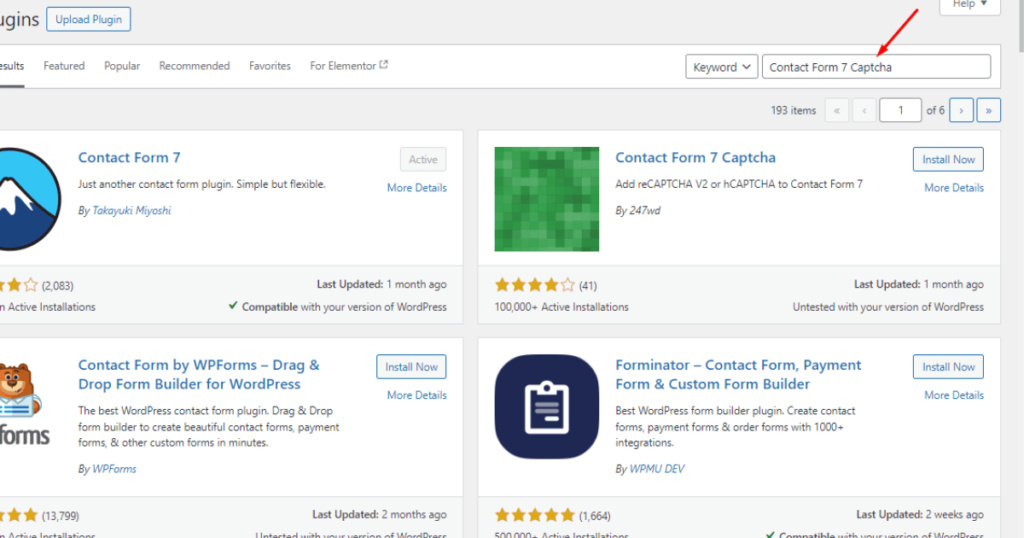
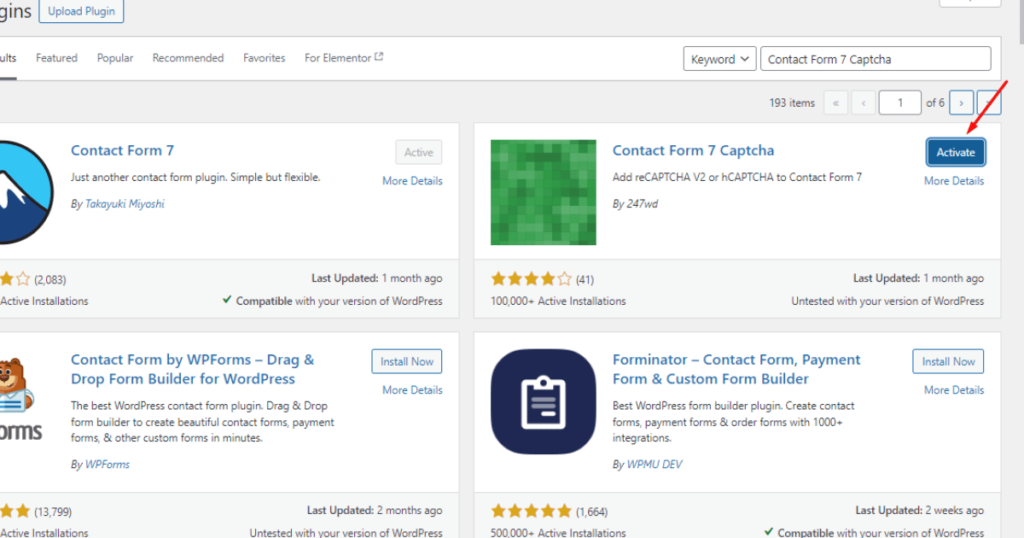
Spot the plugin and click the Install Now button.
Then, hit the Activate button.
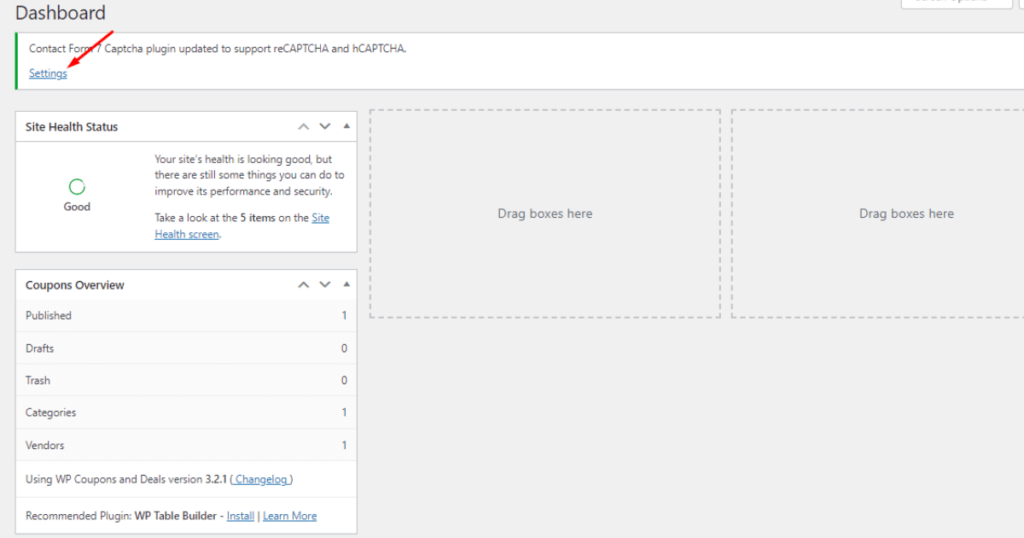
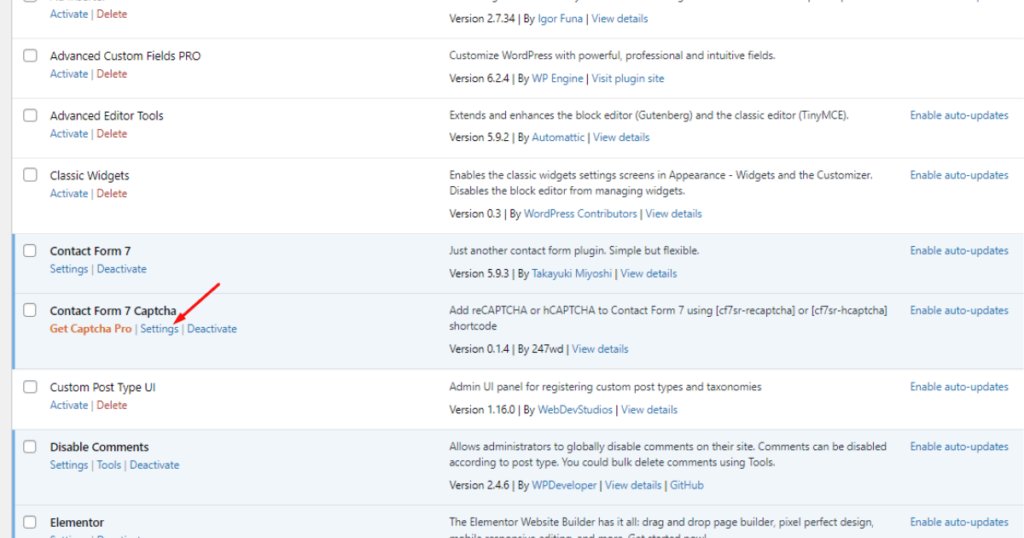
After that, click Plugins or any other item in the WordPress Admin Dashboard to see Contact Form 7 Captcha’s message.
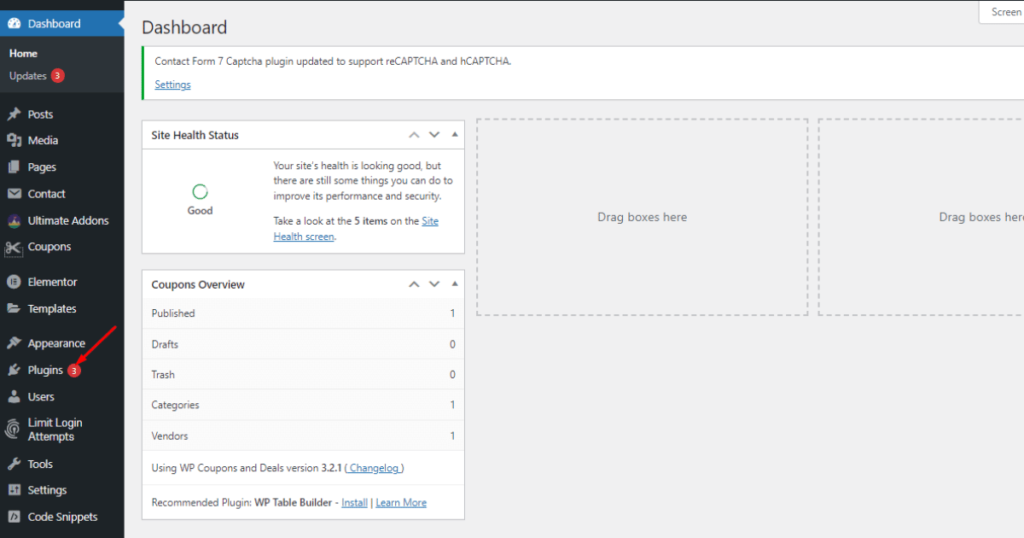
Now, hit Settings in Contact Form 7 Captcha’s message.
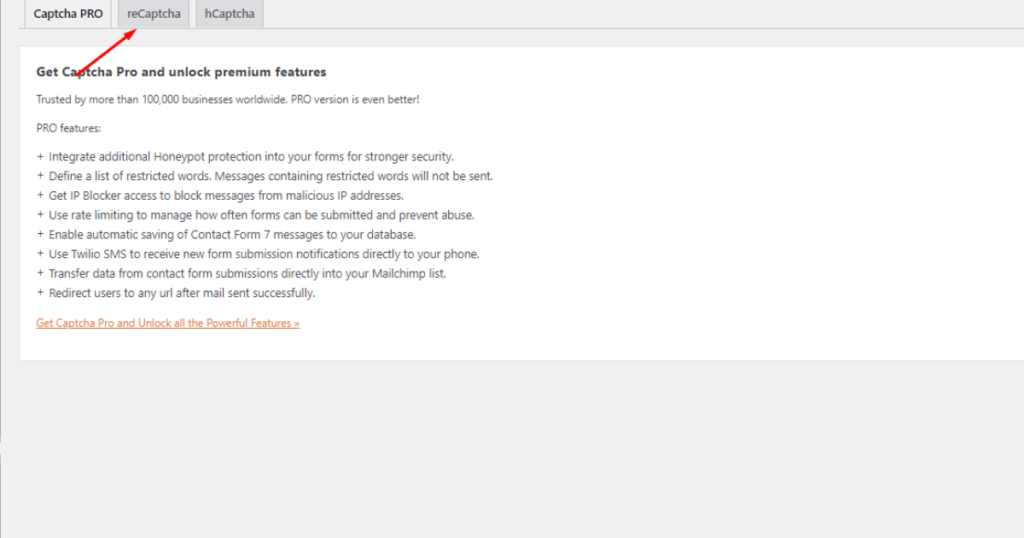
At this moment, you’ll see Contact Form 7 Captcha’s setting. Click the reCAPTCHA tab.
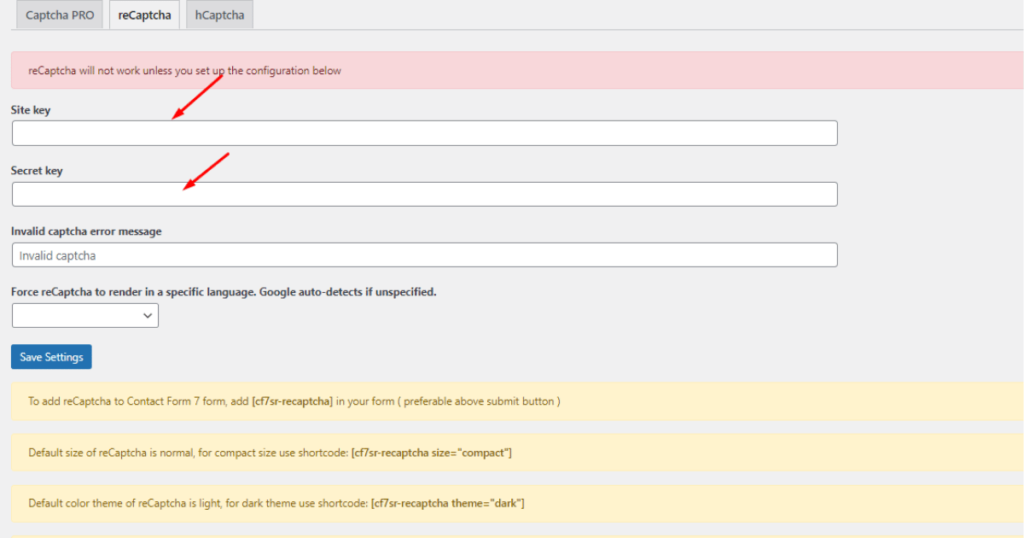
Then, you’ll notice the Site and Secret key fields. As you know, you need to input reCAPTCHA v2 API keys in these two fields.
But you don’t have v2 API keys. So, let’s generate them first and paste them into these two fields.
Step 2 – Generate reCAPTCHA v2 API keys
Open a new tab on your web browser and go to: https://www.google.com/recaptcha/admin/create.
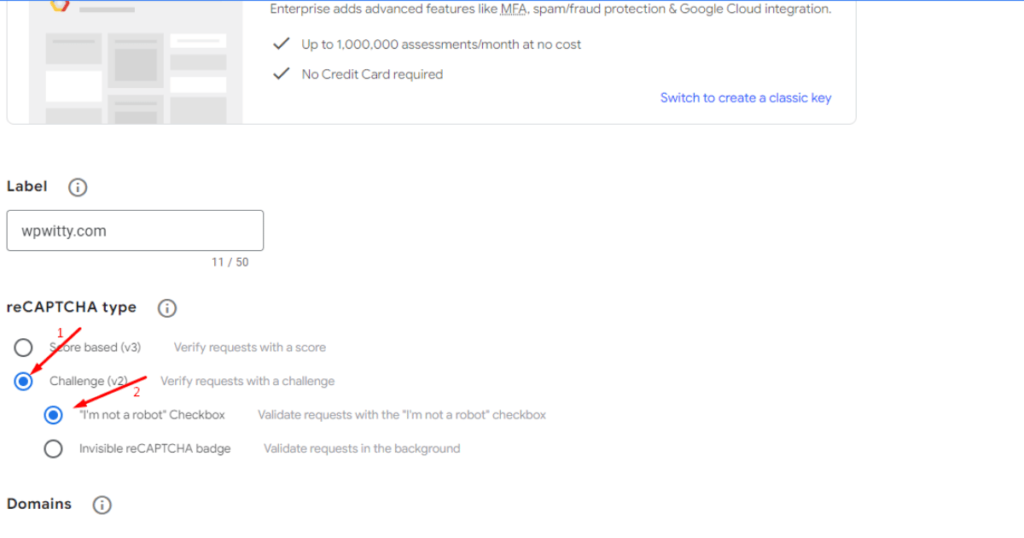
Sign in with your Google account (If you aren’t logged in). After that, type your website URL in the Label field.
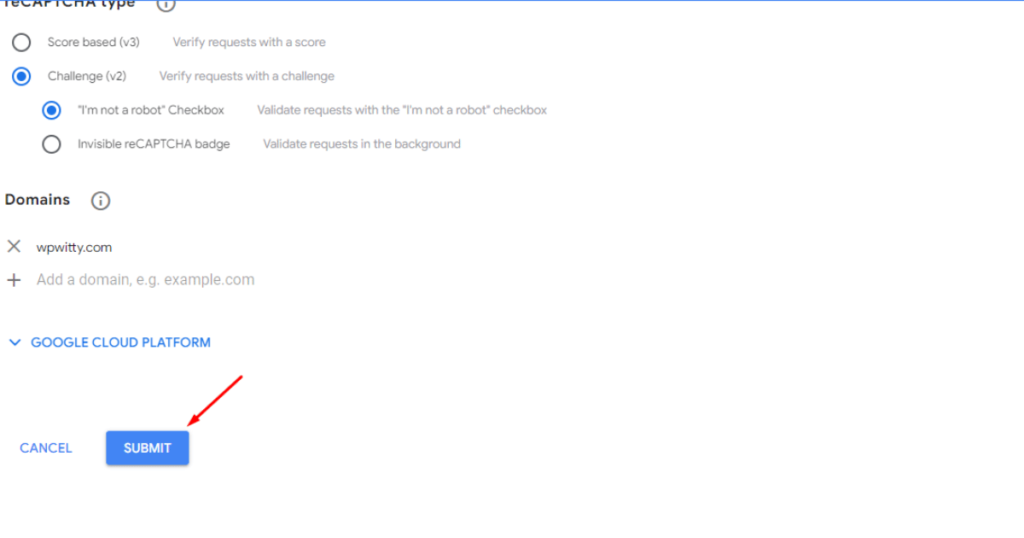
Choose reCAPTCHA type as Challenge (v2) and also select the “I’m not a robot” Checkbox (if it’s not automatically selected).
Right now, type your website URL again in the Domains section.
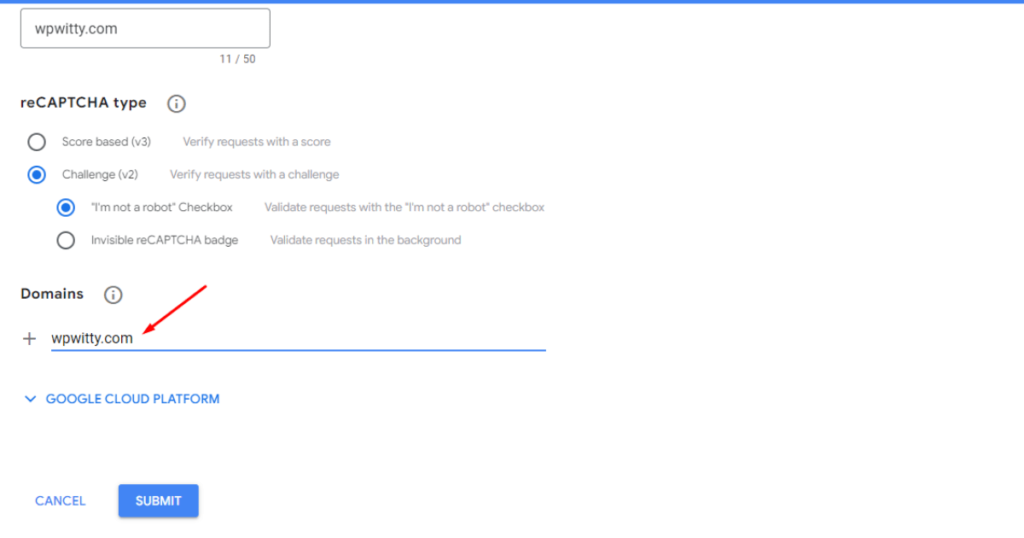
Afterward, hit the ‘+’ icon to add your website URL.
Finally, click the SUBMIT button.
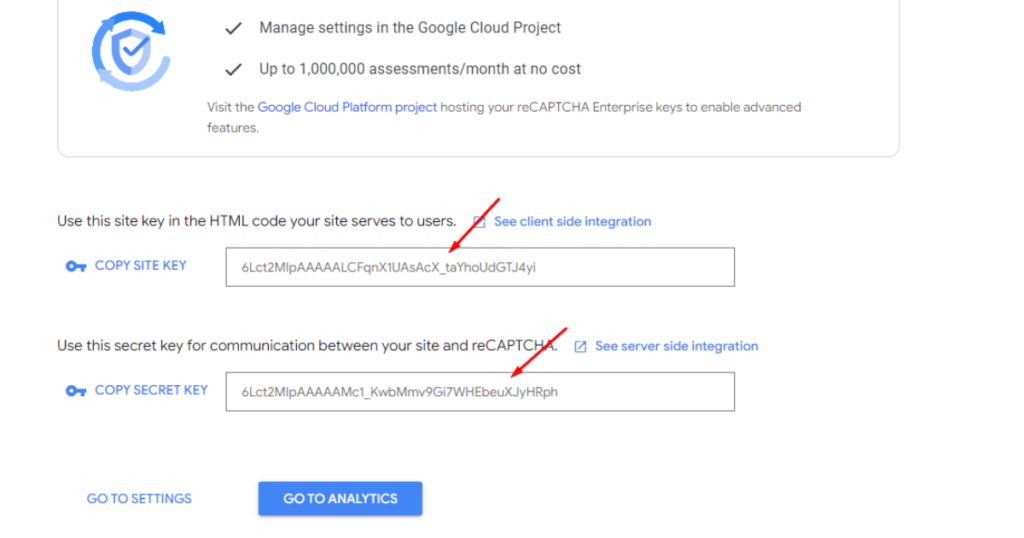
At this moment, you’ll see reCAPTCHA v2 SITE and SECRET KEYS.
Copy these keys and save them in a Notepad file. Then, insert them later into the Contact Form 7 Captcha plugin.
Step 3 – Integrate API keys with Contact Form 7 Captcha
Let’s now integrate API keys with Contact Form 7 Captcha. Go to WordPress Admin Dashboard > Plugins.
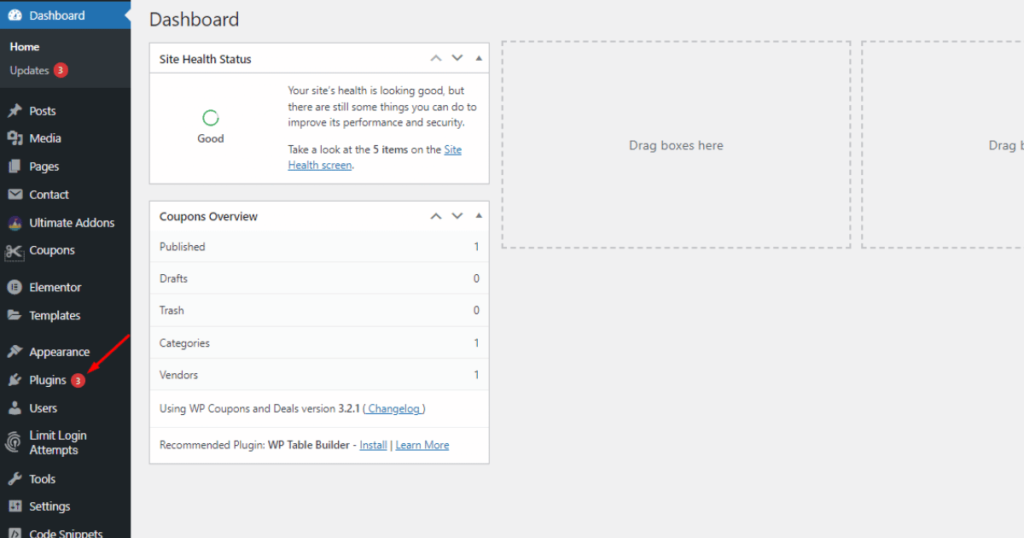
Then, find the plugin and click its Settings.
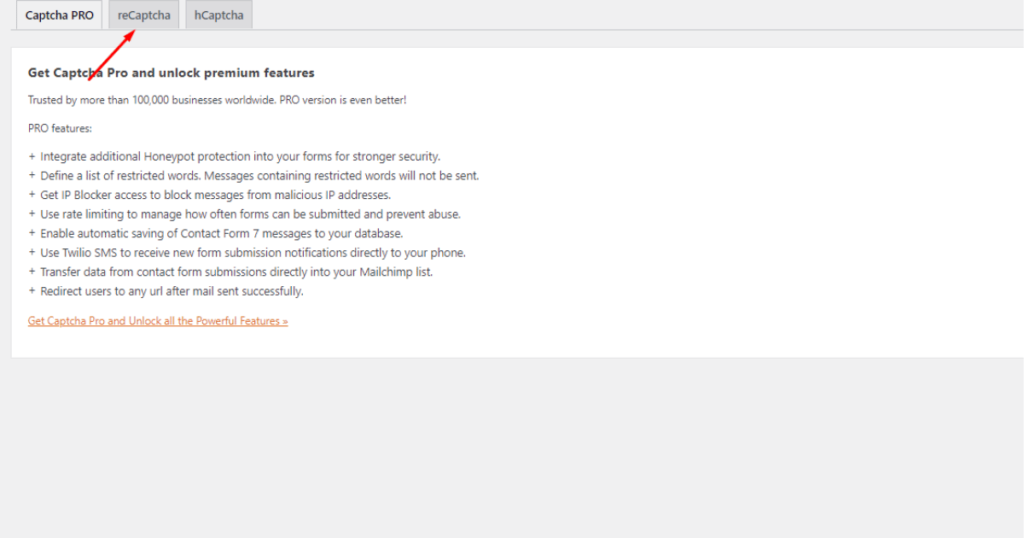
Click the reCAPTCHA tab in Contact Form 7 Captcha.
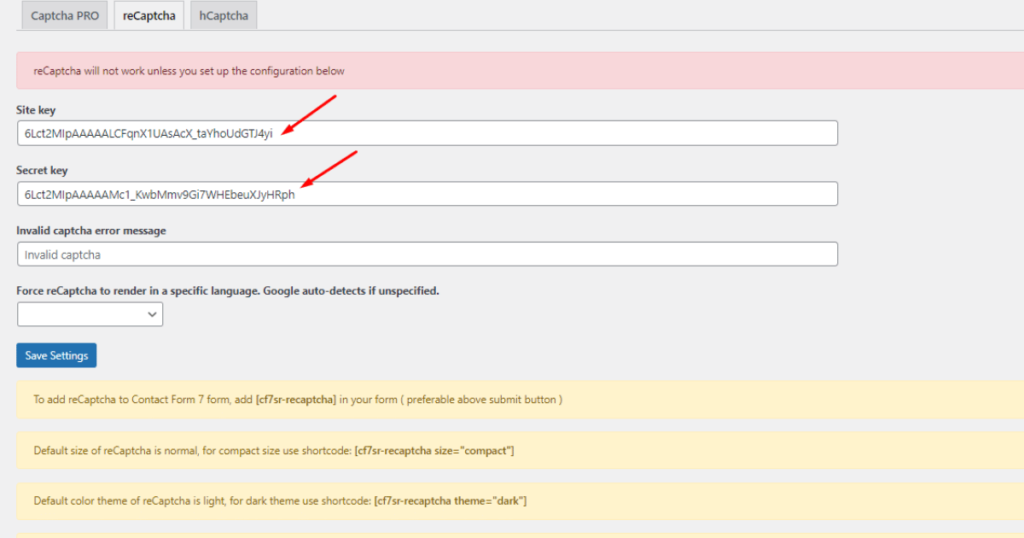
Insert Site and Secret keys you got from Google’s reCAPTCHA v2 into this plugin’s API keys’ fields.
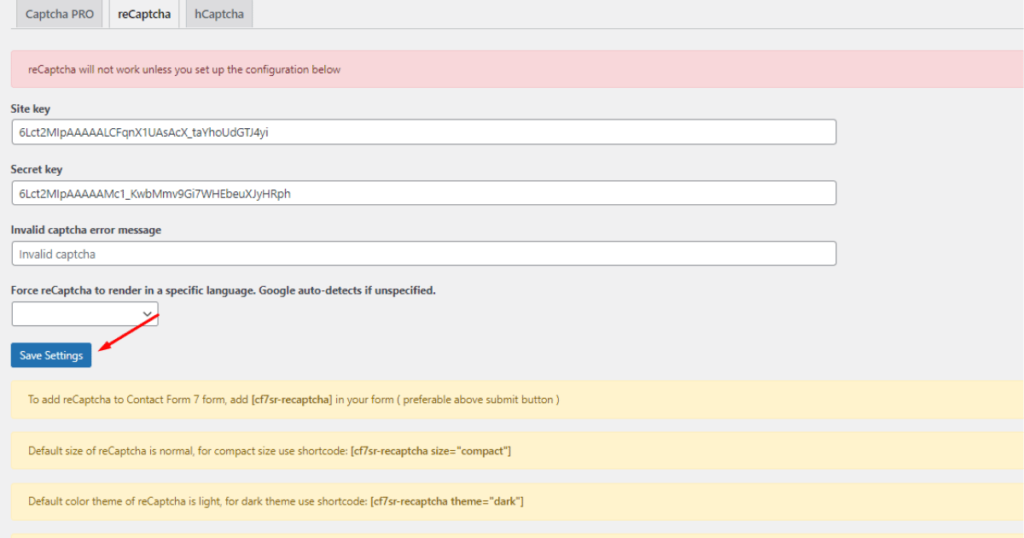
Finally, click the Save Settings button.
There you have it! You’ve integrated reCAPTCHA v2’s API Keys with Contact Form 7 Captcha.
Let’s read and follow the final step of contact form 7 recaptcha v2 integration.
Step 4 – Add captcha code to Contact Form 7
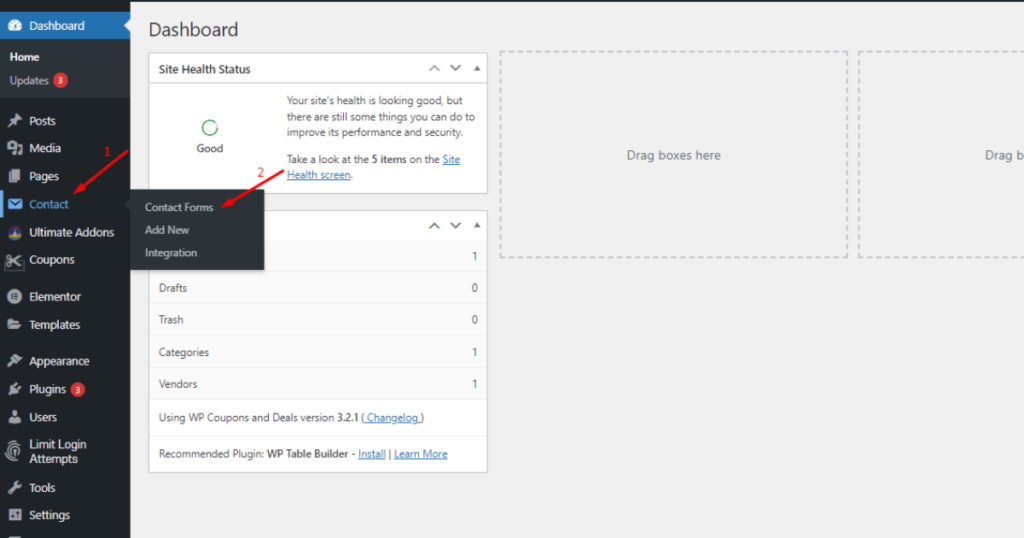
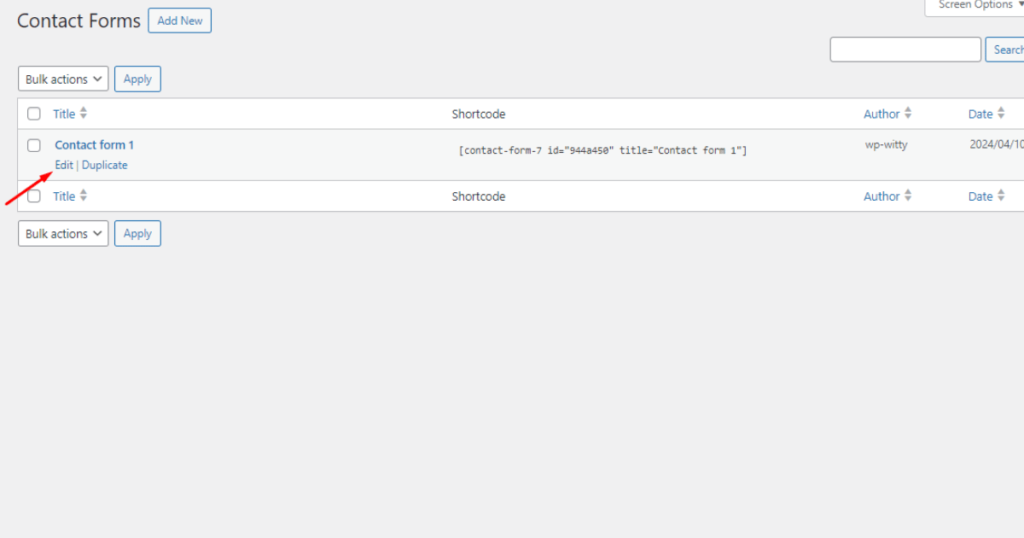
Go to the WordPress Admin screen and then click Contact > Contact Forms.
Then, hover your mouse pointer over a contact form (you want to edit) and click Edit.
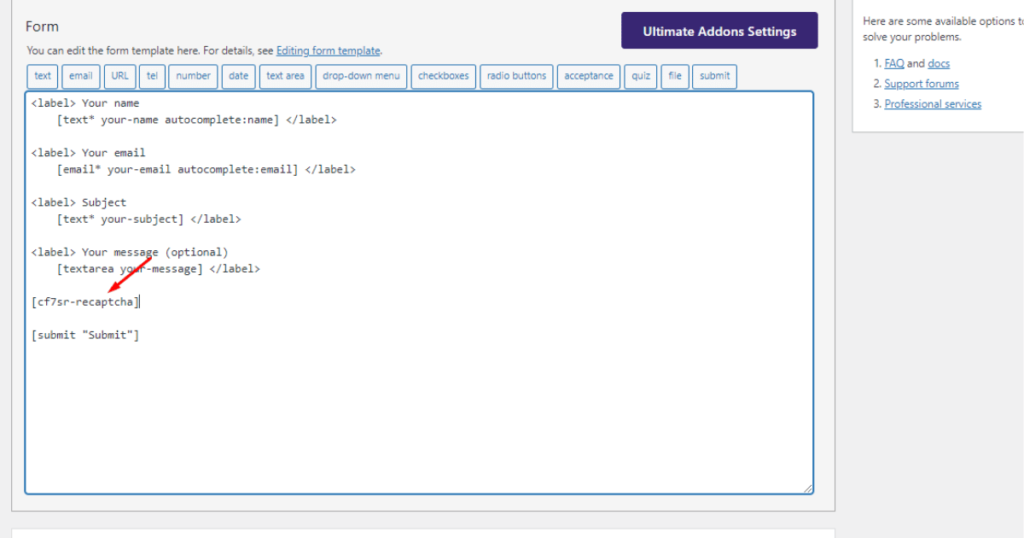
Right now, insert this contact form 7 captcha code – [cf7sr-recaptcha] – above the submit button tag inside a contact form.
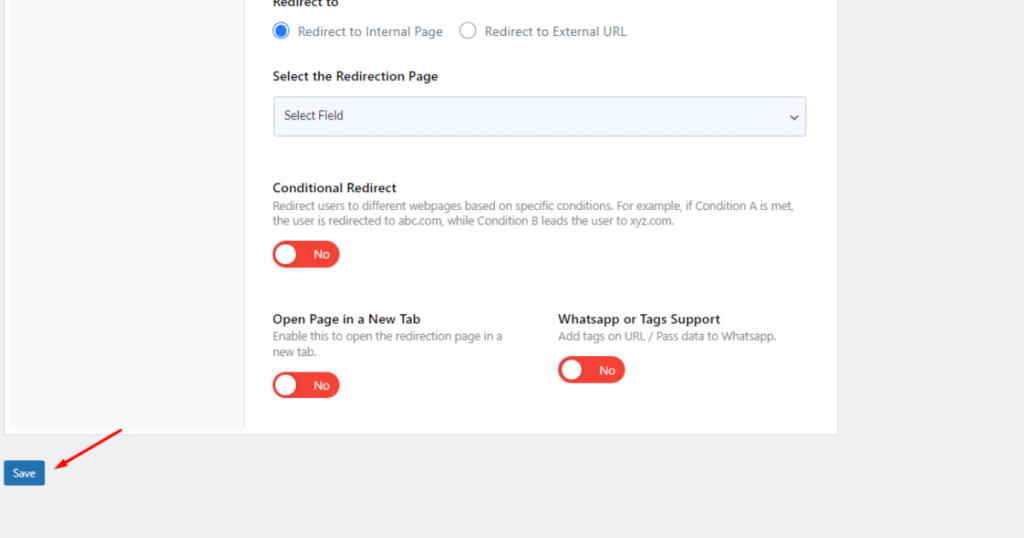
Lastly, scroll down and click the Save button.
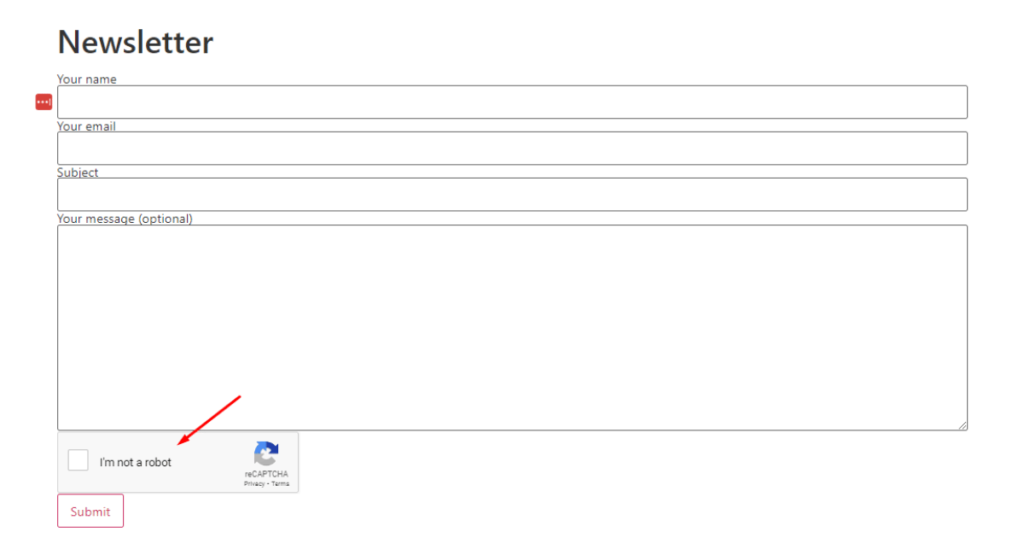
Now, visit the page or post where you’ve inserted a shortcode of a contact form and see if reCAPTCHA v2 appears above the Submit button.
So, that’s how you can integrate reCAPTCHA with Contact Form 7.
FAQs
What is the best CAPTCHA plugin for Contact Form 7?
It’s challenging to declare one plugin as the best one for a captcha integration. However, we found the Contact Form 7 Captcha a comparatively better one than its competitors based on its ease of use and other functions.
Why is CAPTCHA not working in Contact Form 7?
A captcha – more specifically the reCAPTCHA v3 – may not work on your website due to a myriad of reasons. For example, if you incorrectly register your website (e.g., typos in domain URL) on Google’s reCAPTCHA, it won’t work on your website.
Conclusion
Integrating Contact Form 7 with captcha is super easy if you follow all the steps outlined in our helpful article.
Throughout this content, we tried to show how easily you can add a captcha – more specifically Google’s reCAPTCHA v2 and v3 – to a contact form.
After following and applying all these steps, you can successfully add a captcha to a contact form on your website. Consequently, your website can fight spam and will be more secure than before for users.
Therefore, embrace the functionality of Google’s reCAPTCHA and always keep up with technology to give users a smooth and secure web browsing experience.